|
|
Post by fredvv44 on Jun 23, 2012 18:30:17 GMT -5
hi. i'm sort of new to the forum. i've posted a couple of replies as a guest.
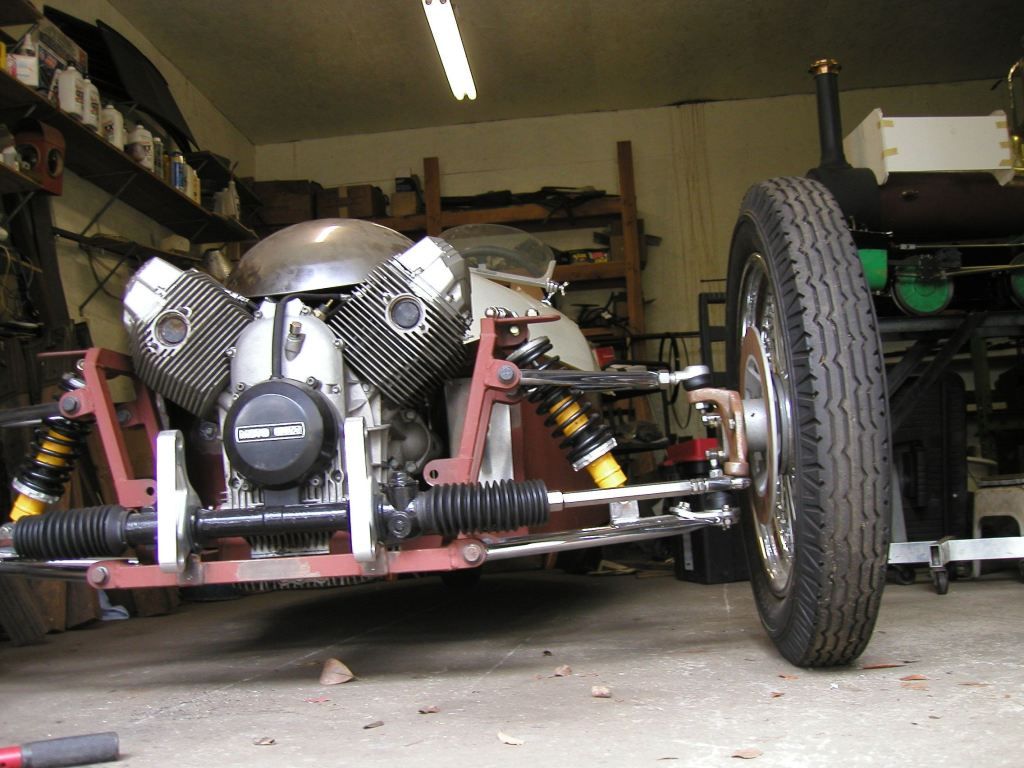
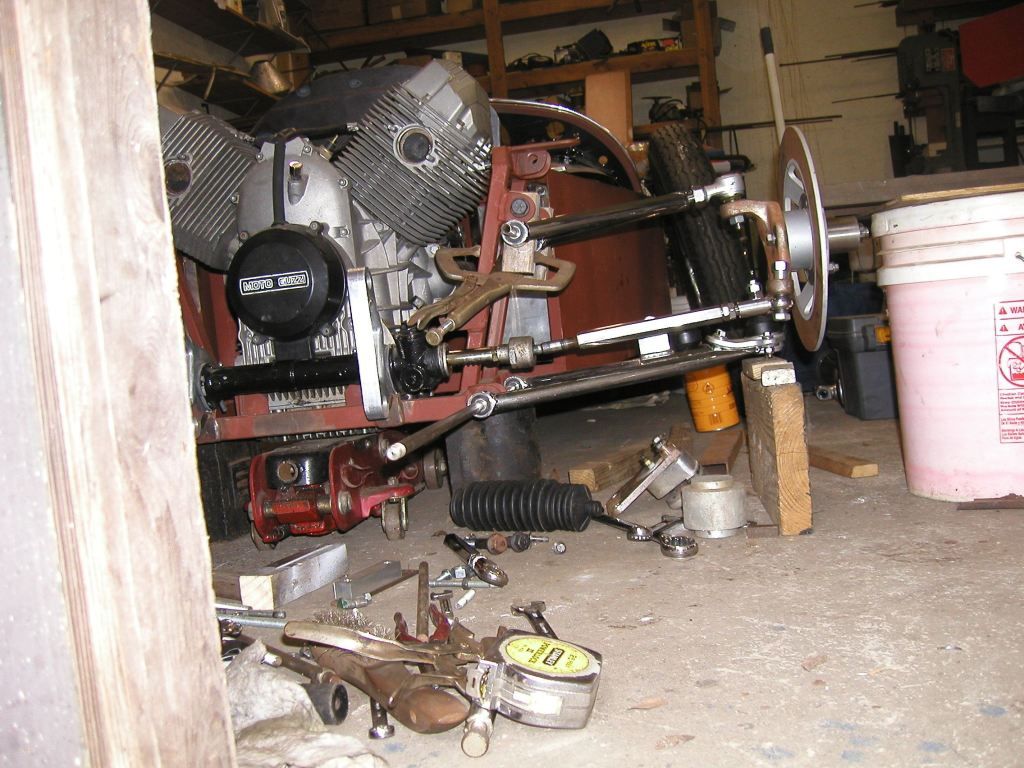
i bought a JZR trike kit that someone had started and had to sell. this build uses a Chevette R&P and Fiero uprights. with this setup the upper a-arm is at the wrong angle and the camber goes the wrong way with body roll. i've started making changes. i'm lowering the upper pivot point brackets and that seems to help.
there are also problems with the R&P in that the tierods point back the the steering arm. that has messed up the Ackermann. longer steering arms should fix that but will take some work to execute.
i'll keep posting my efforts.
how do i attach a photo?
Fred V
|
|
|
|
Post by joeld0803 on Jun 23, 2012 21:09:32 GMT -5
I have a photobucket account which was free and still is I think that I save all my photo's to and once there it's a matter of copying the photo from photobucket's sight as an attachment and paste in your write up. You have to click on the photo and open it and on the far right there will be an image code. Left clicking on it will say copied and then you come here and paste it. Below is an example but there is generally no spacing between ![]() "the link" and ![]() ![]() i227.photobucket.com/albums/dd115/joeld0803/A89.jpg i227.photobucket.com/albums/dd115/joeld0803/A89.jpg[/IMG] |
|
|
|
Post by joeld0803 on Jun 23, 2012 21:10:52 GMT -5
It cut off what I was trying to say..........Sorry.
|
|
|
|
Post by fredvv44 on Jun 23, 2012 21:32:40 GMT -5
I have a photobucket account which was free and still is I think that I save all my photo's to and once there it's a matter of copying the photo from photobucket's sight as an attachment and paste in your write up. You have to click on the photo and open it and on the far right there will be an image code. Left clicking on it will say copied and then you come here and paste it. Below is an example but there is generally no spacing between ![]() "the link" and ![]() ![]() thanks Joel, i'll try that. Fred i227.photobucket.com/albums/dd115/joeld0803/A89.jpg[/IMG][/quote] |
|
|
|
Post by fredvv44 on Jun 23, 2012 22:04:15 GMT -5
this is the way i got the kit. note the upper arm is higher at the pivot.  here i've clamped on new temporary brackets and lowered the inner pivot. the arms are parallel with this setup. the inner pivot needs to be lower still.  i pulled the engine so i can now remove the old brackets and weld on the new ones. Fred V |
|
|
|
Post by mtntech on Jun 26, 2012 10:09:08 GMT -5
Good to see another project getting underway.
|
|
|
|
Post by fredvv44 on Jun 29, 2012 8:21:13 GMT -5
Good to see another project getting underway. thanks. this was started by another guy. here is his web site: www.freewebs.com/jzrusa/i will make a new site called jzrusa2 to continue the build. Fred |
|
|
|
Post by fredvv44 on Jul 7, 2012 15:22:28 GMT -5
i set up the new web site at jzrusa2.blogspot.com/i'll be posting my progress there each week or more often. Fred V |
|
|
|
Post by fredvv44 on Jun 6, 2013 19:15:19 GMT -5
I got it cranked yesterday and had a bit of carb tuning to do. Today the wife and I took it for a drive. WOW is this going to be fun to drive.
Click on the blog and there is a link "First run" to a youtube video.
enjoy,
Fred V
jzrusa2.blogspot.com
|
|
Deleted
Deleted Member
Posts: 0
|
Post by Deleted on Jan 13, 2014 9:47:06 GMT -5
I am worried about the amount of side force these wheels will take, motorcycle wheels arent designed to be pushed sideways
|
|
|
|
Post by stretchmobileski on Jan 13, 2014 22:55:55 GMT -5
|
|
|
|
Post by noahkatz on Feb 7, 2014 2:14:25 GMT -5
I am worried about the amount of side force these wheels will take, motorcycle wheels arent designed to be pushed sideways Not so sure about that; when a bike is leaned over and hits a bump the suspension is not exactly oriented to absorb it. |
|
Deleted
Deleted Member
Posts: 0
|
Post by Deleted on Apr 3, 2014 10:03:17 GMT -5
But the majority of the force is still inline with the center of the bike. It's just something to think about, definately you would not want to take a corner peeling rubber
|
|