|
|
Post by kolibri on Dec 20, 2011 19:20:00 GMT -5
;)Hello everybody, started a few weeks ago with my Projekt. Let me introduce my person a little bit . My name is Ralf, I'm 51 years old, I live in Germany and I'm really interested in RT's. I will do my very best to discribe everything in english and I'm sorry if my english is not the best because I learned the language 35 years ago at school. I discribed my projekt it a little bit at "Greetings from Germany by New Members". I read a lot of threads here and in other forums and always loved to see a lot off pictures and the hole story off building RT's . So that is what I would like to do. I think it will be a long way to get ready but one time I read a sentence that said : " You can plan and plan and plan but the best thing is to start". After searching for parts and ideas for one year I followed this and created my new shop. Here are some pics.    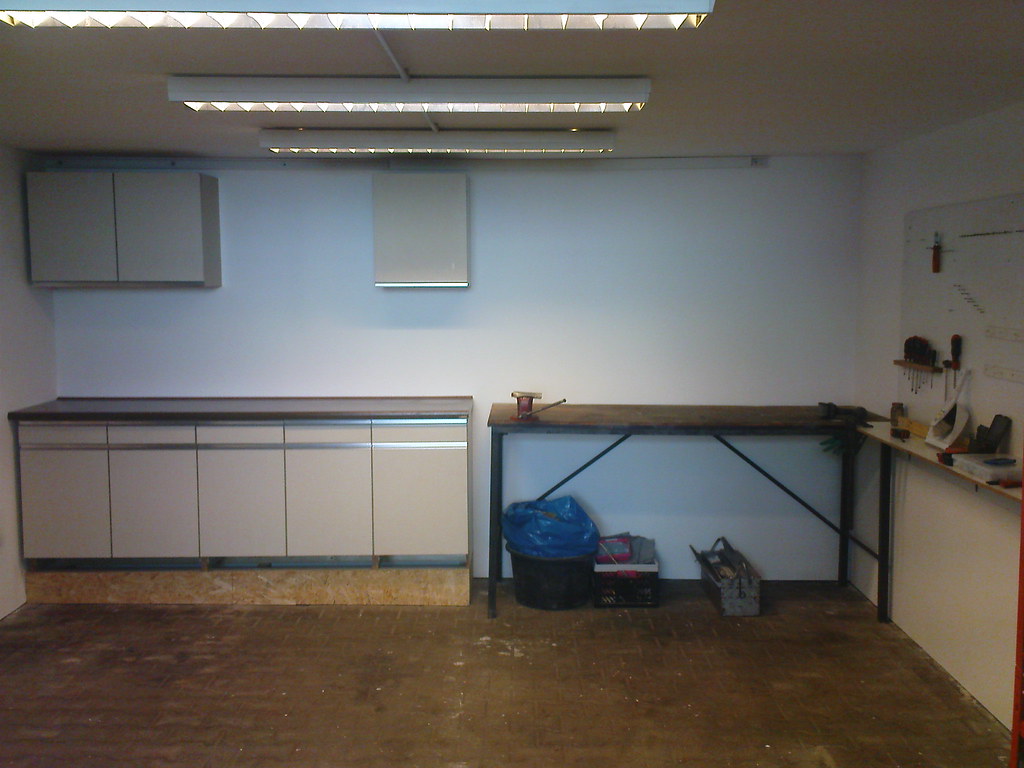 I decided very early to go for saving energy and wanted to use light parts . So my decision went for an ev trike from denmark. It's called City El. So this is my donor car. 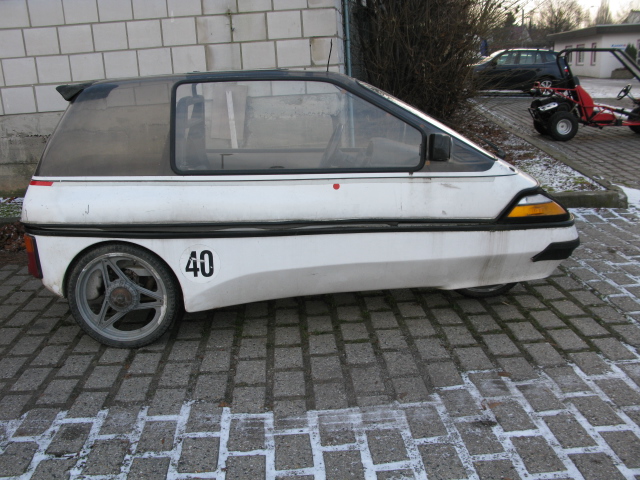 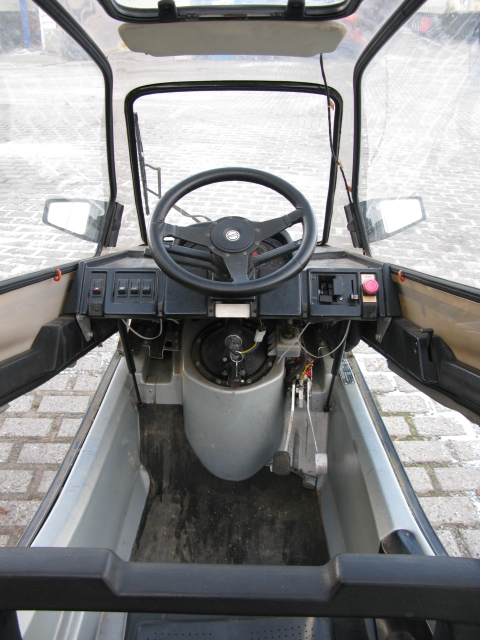 The engine comes from Honda it's a 125ccm CBR donor motorcycle. Now I think it's time see some pictures they say more than thousend words. I started with building the frame with wood because it's cheep and easy to work with. 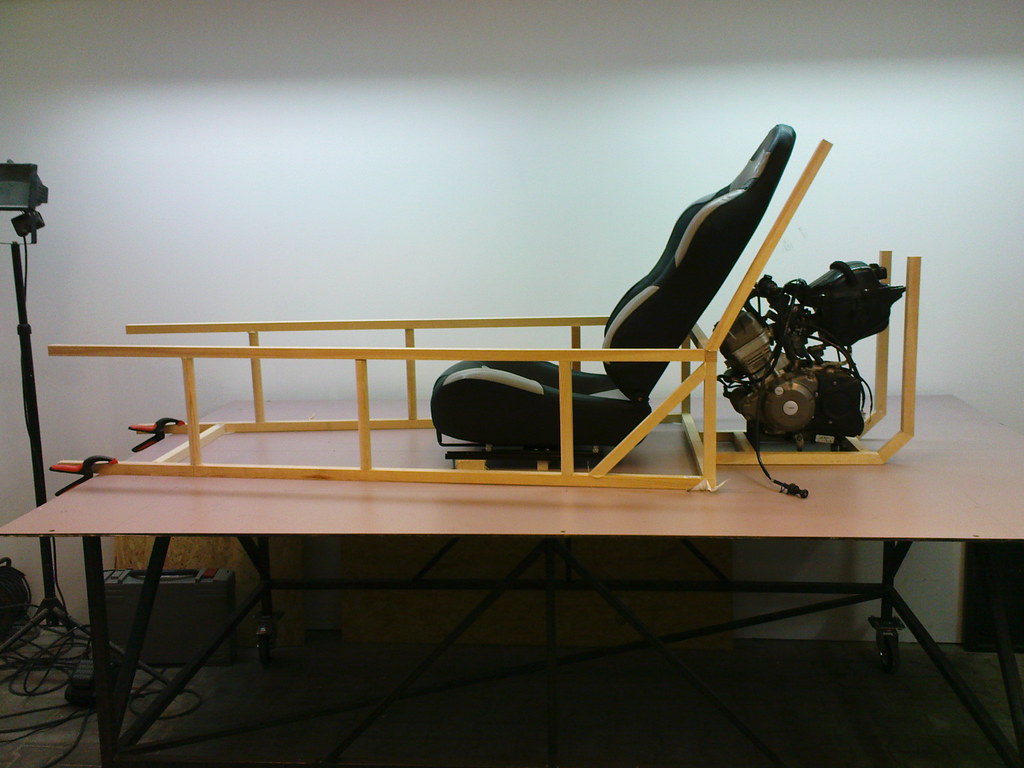 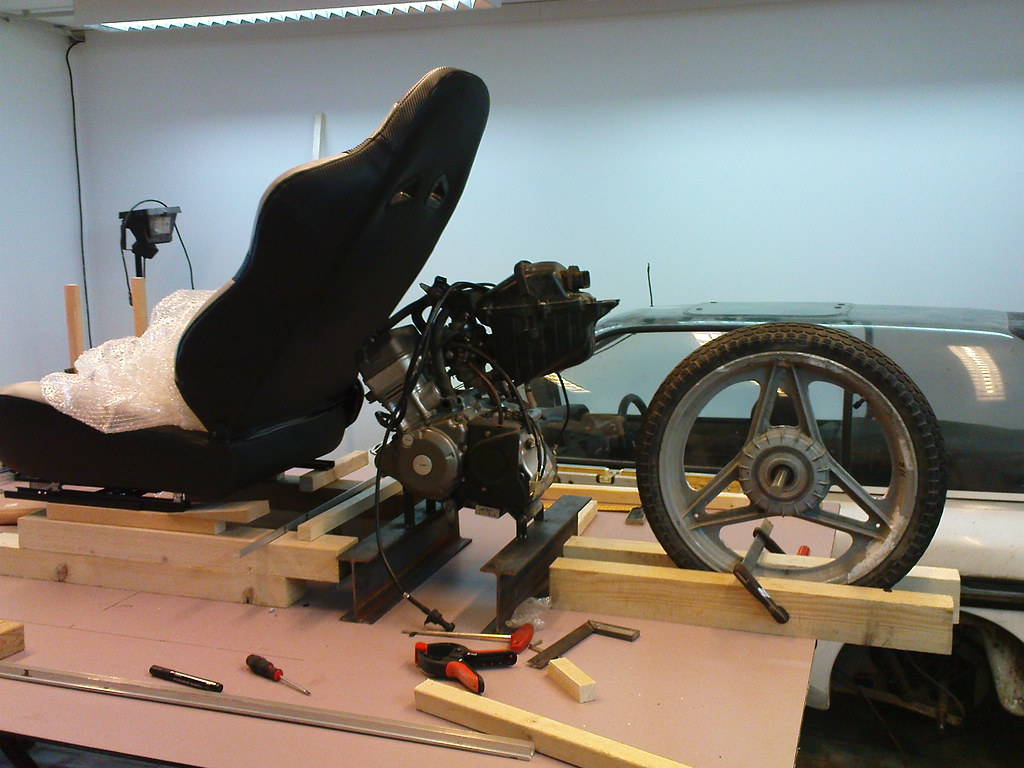 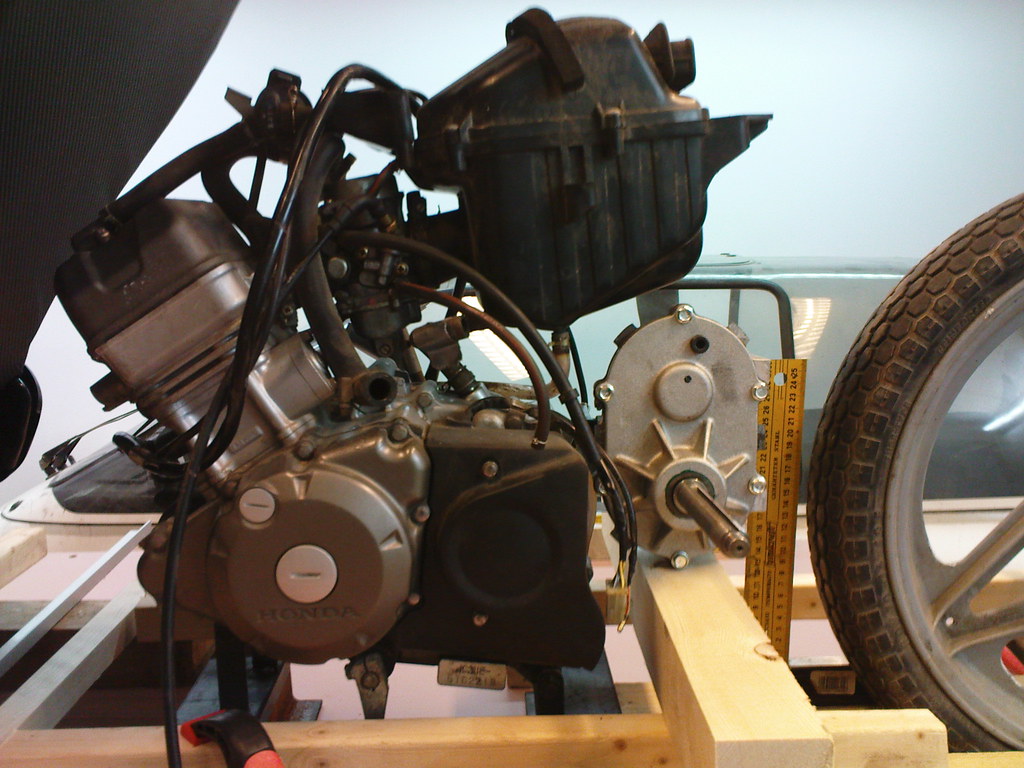 After my first ideas I started with building the same thing with metal. I dicided to use stainless steel for the frame because there is no painting and no rust protection needed. 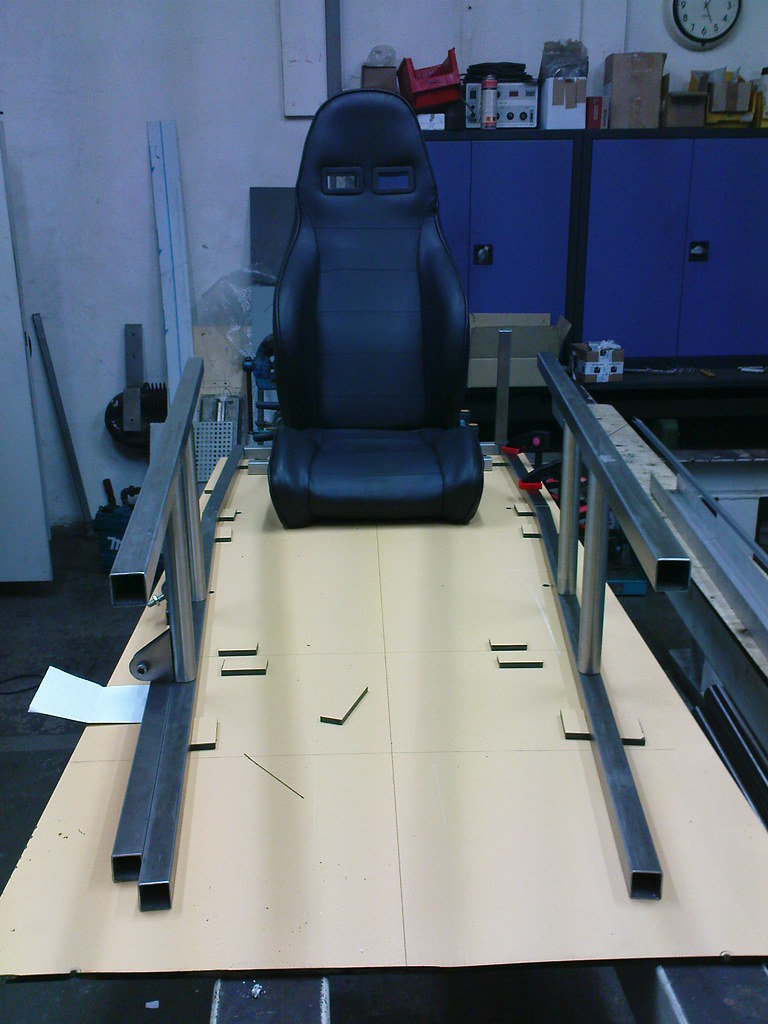 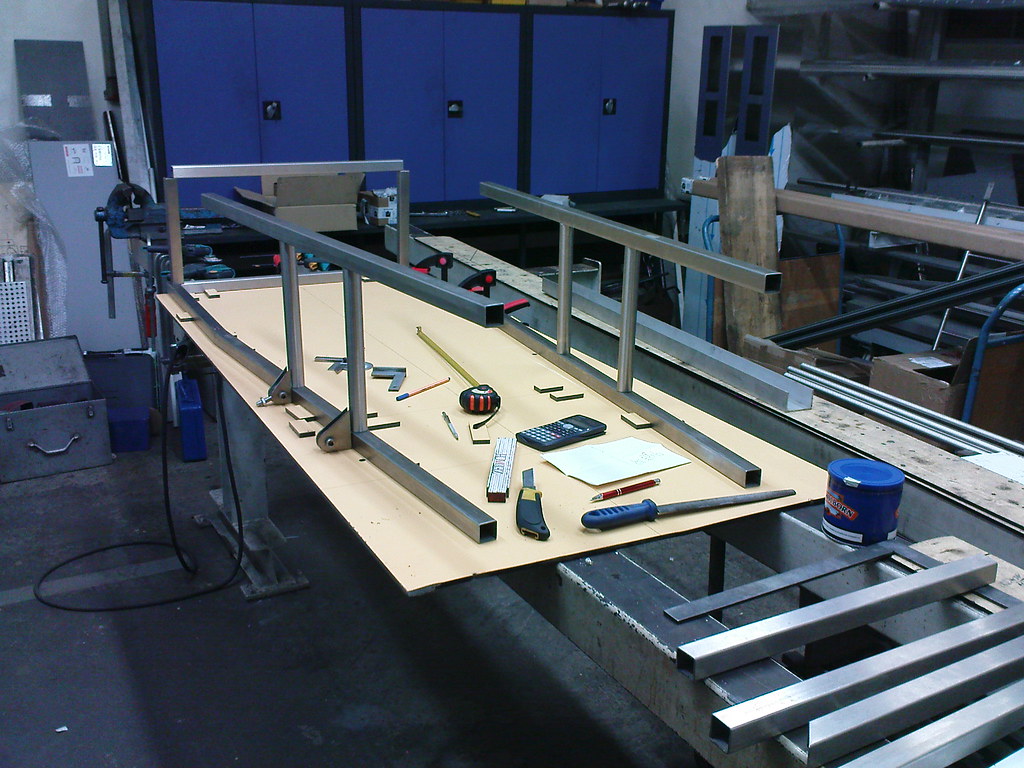 ![]() [http://farm8.staticflickr.com/7009/6545796817_ed2fd25a8a_b.jpg/img] 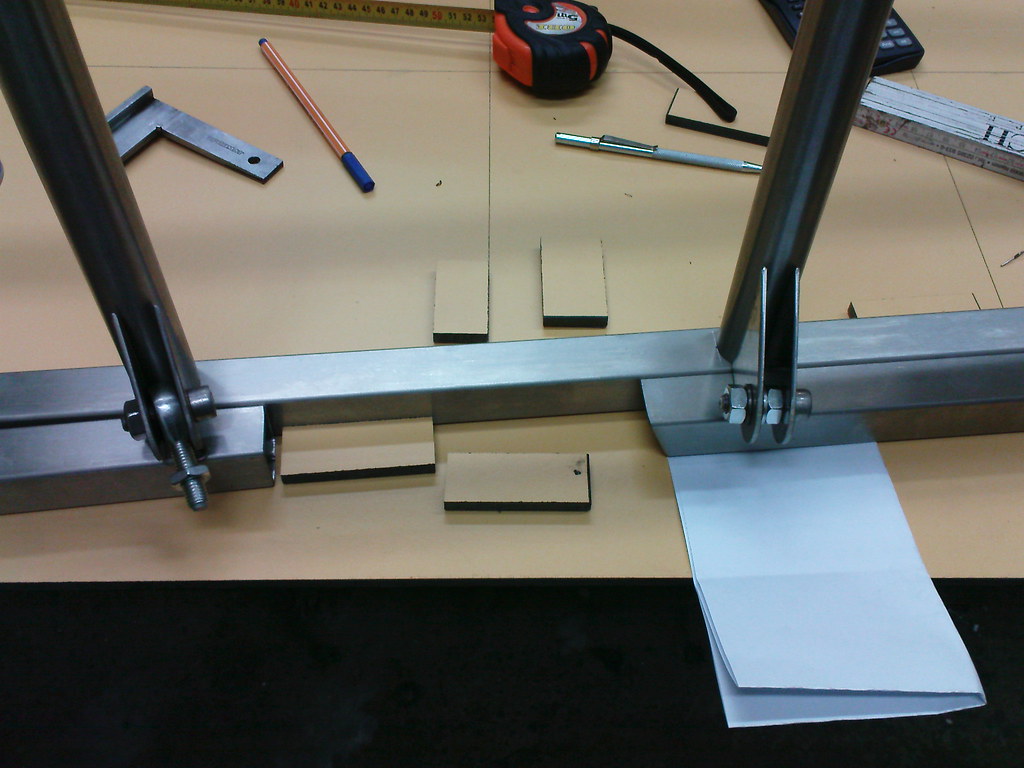  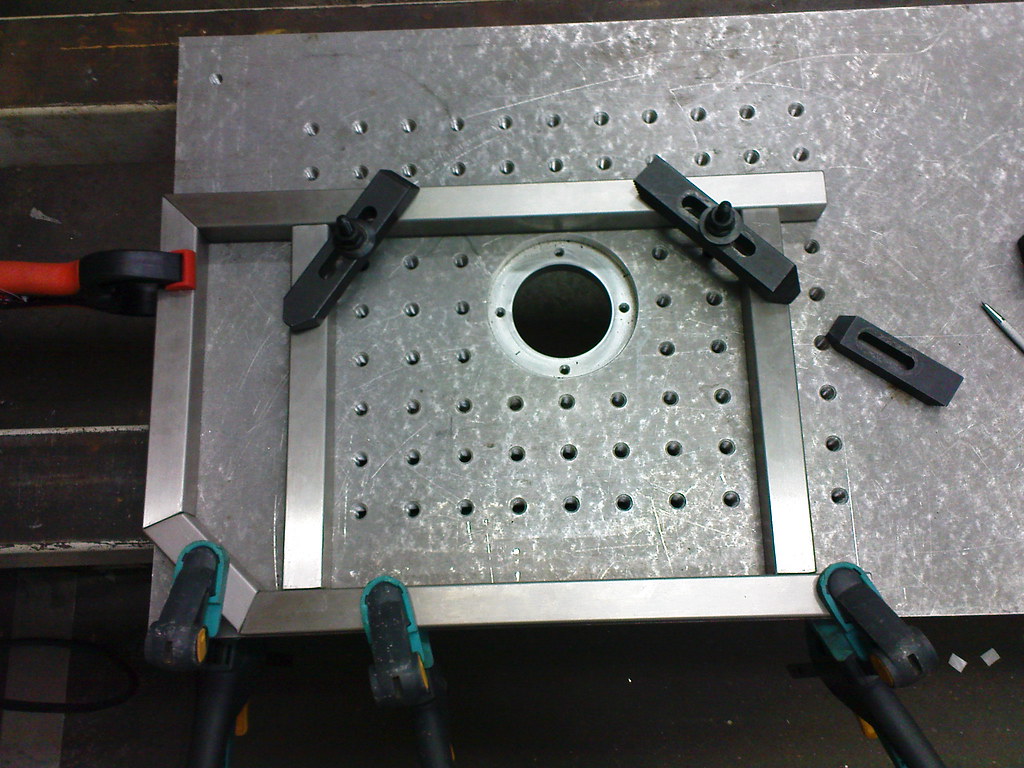 Part of the rear swingarm. 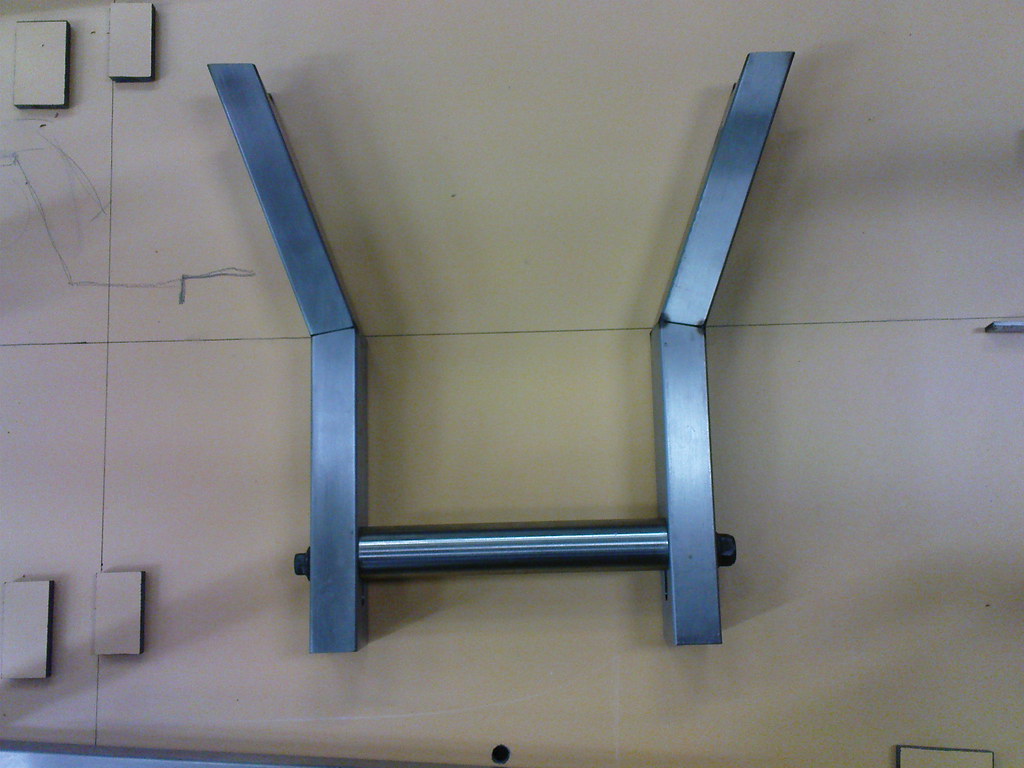 Frame spotwelded. 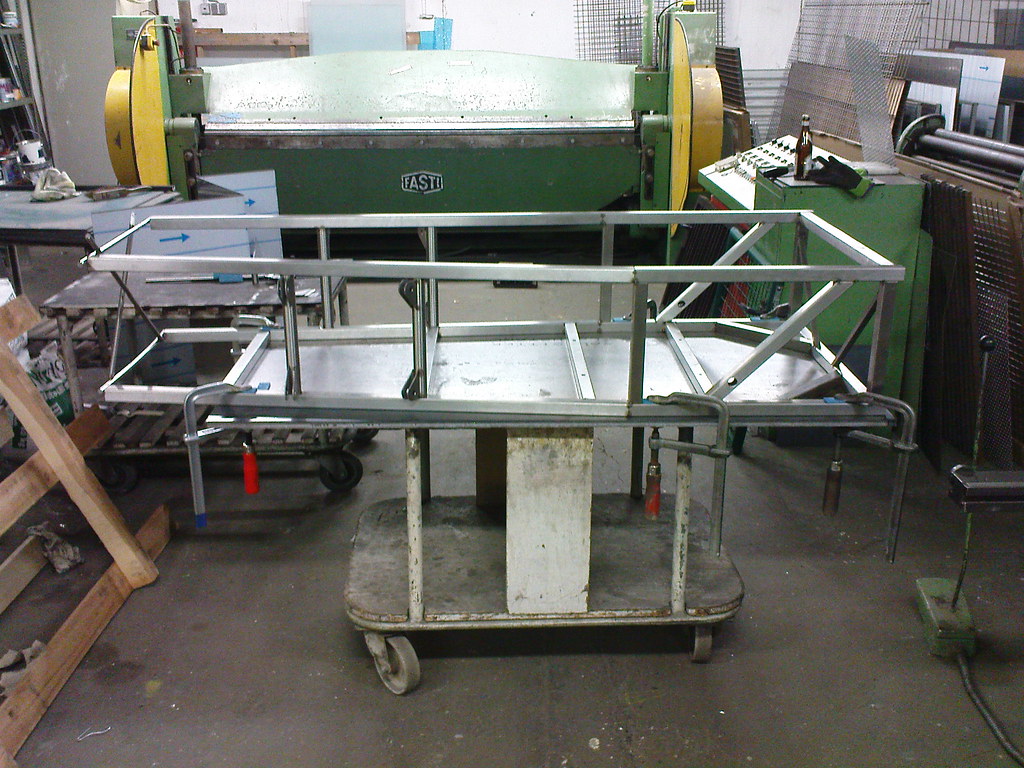 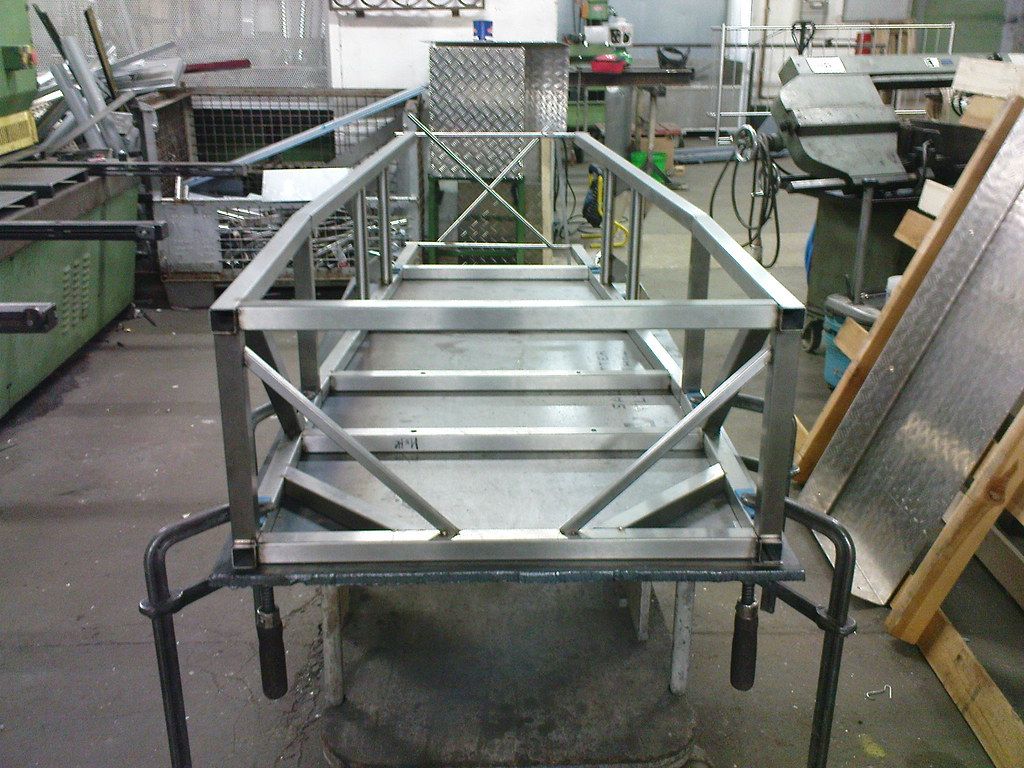 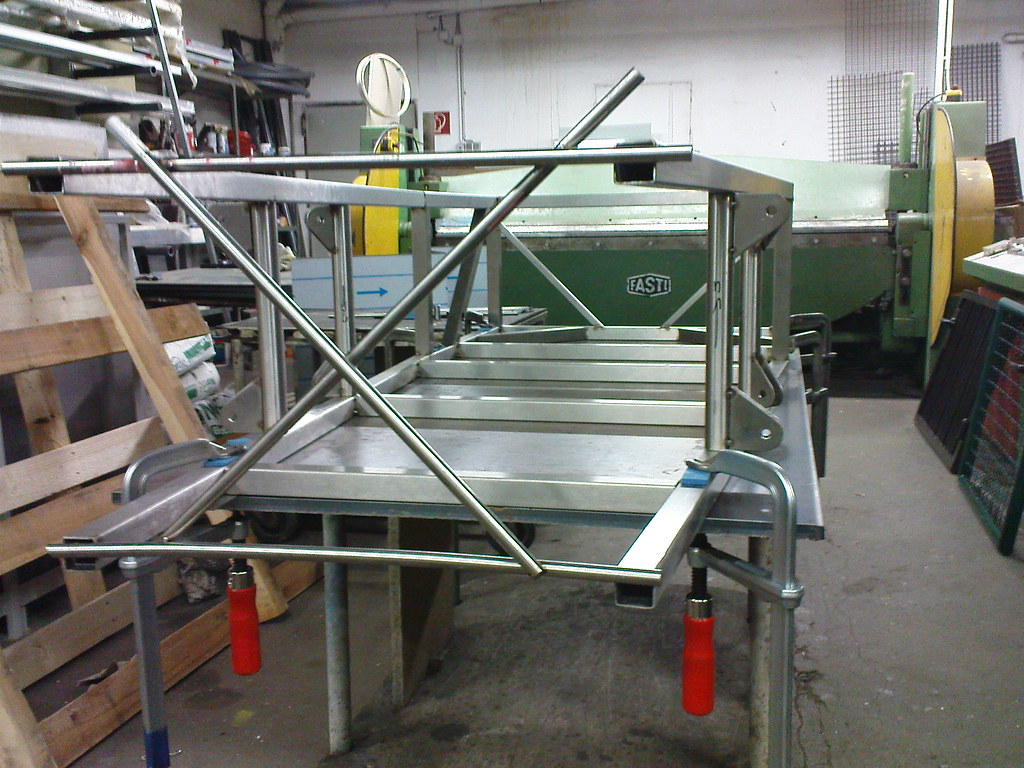 This is a porsche 911 steeringrack mounted at the front. 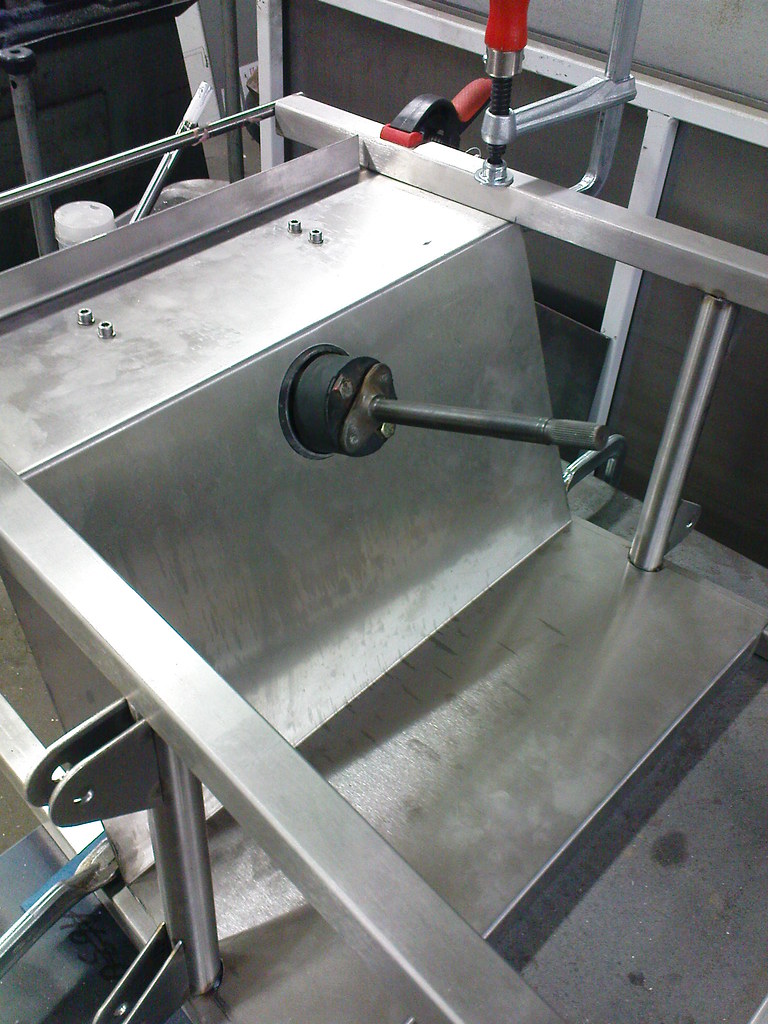 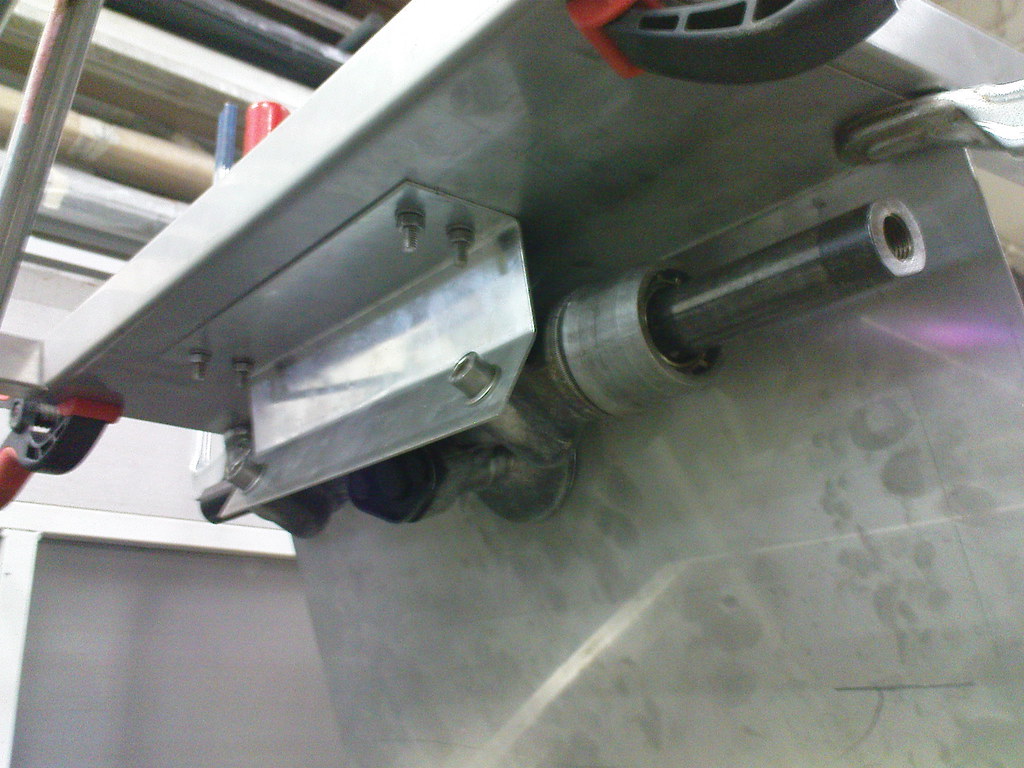 That's the point where I am. Going further the next day's and will post everything I make. See you on reverse trike. Ralf PS: I'm happy for any respons, ideas and comment .  |
|
|
|
Post by kolibri on Dec 22, 2011 17:58:07 GMT -5
;)Hello everybody, @salty9 : Hope to be ready by 250Kg. At the pictures you see the engineframe. The seat is mounted to get the right place for the hand brake lever.  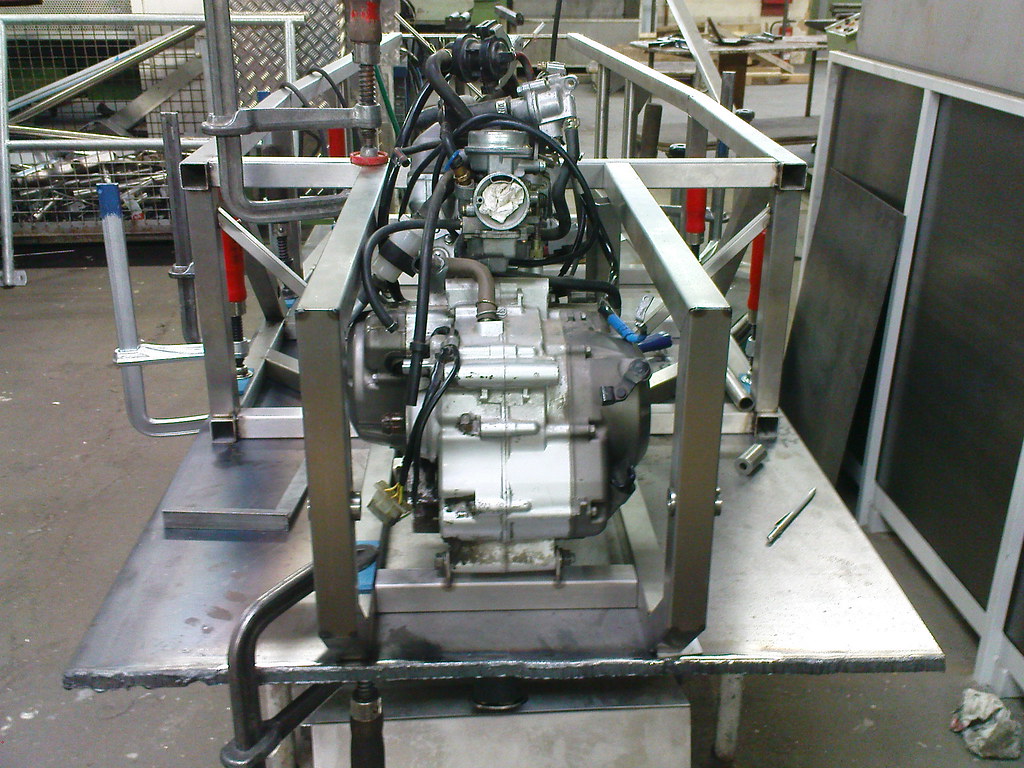  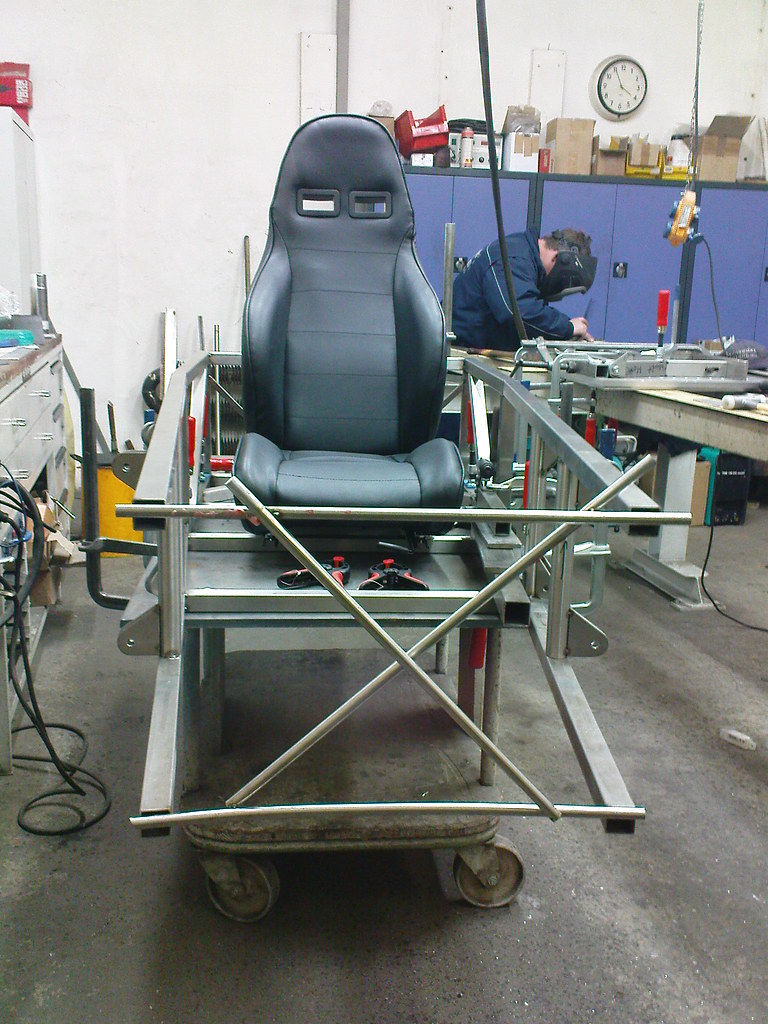  Hope you enjoy. Ralf  |
|
|
|
Post by srx660 on Dec 26, 2011 19:49:22 GMT -5
Thank you for posting your build sequence here. I love seeing other peoples build ideas. Have you done any body design doodles? I would love to see your ideas on a body.
I am building something similar but using a Honda CM 250 engine as my first trike, then moving on to a similar Kawasaki watercooled 900 trike. I hope to have my 250 running by summer and i will post build pictures here.
SRX660
|
|
|
|
Post by scooterrebel on Dec 26, 2011 23:35:03 GMT -5
I like your ideas, it is looking great.
|
|
|
|
Post by kolibri on Dec 29, 2011 16:58:28 GMT -5
Thank you for your respons, @ srx660 : There is no design of the car. I started with the rear end and not at the front because of thinking about getting a short wheelbase. I will think about a design when it stands on wheels and all important things are on place. Here are some pics of the sidepanels and the floorpan. 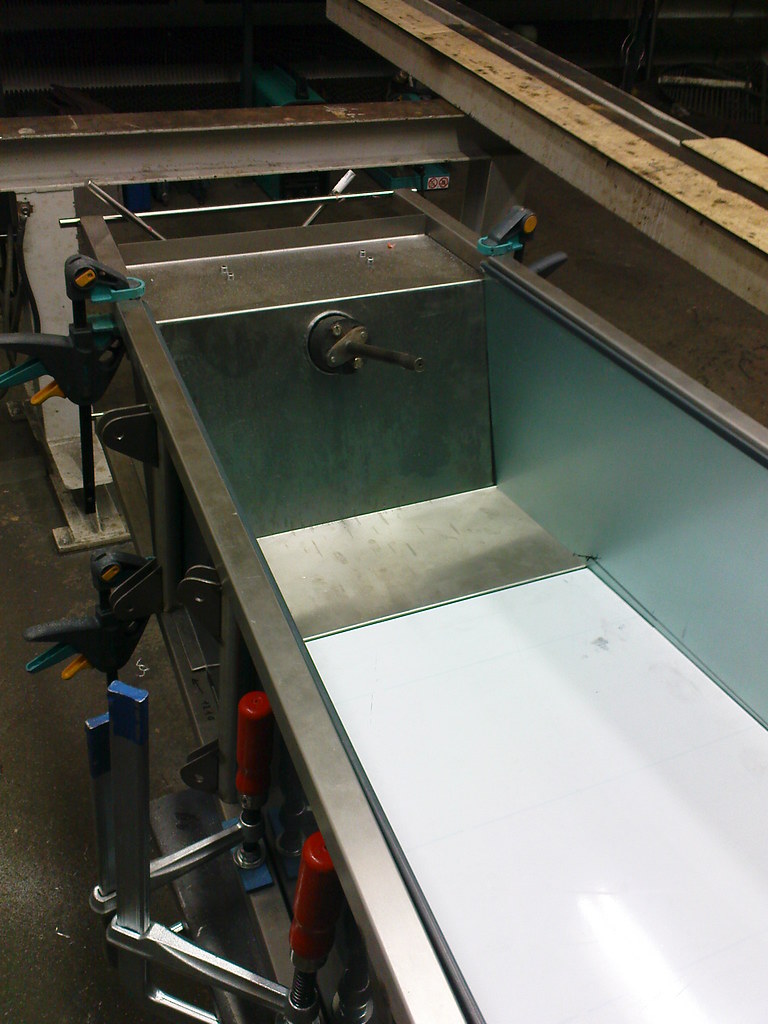   Bracket for handbrakelever and mounted. 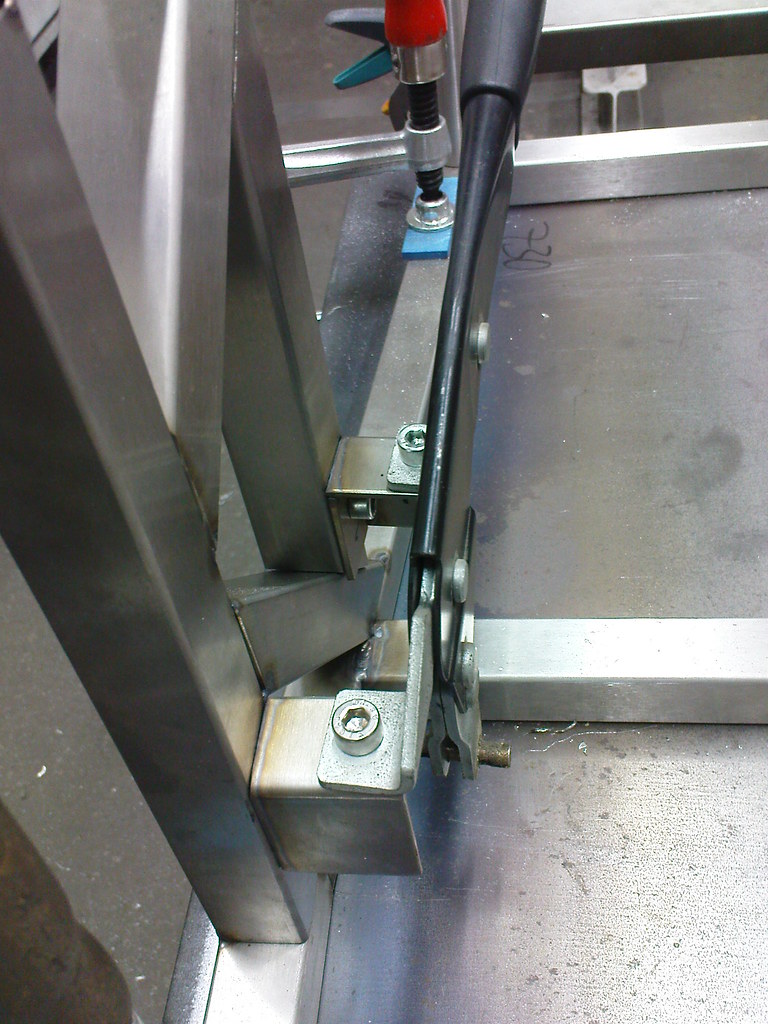 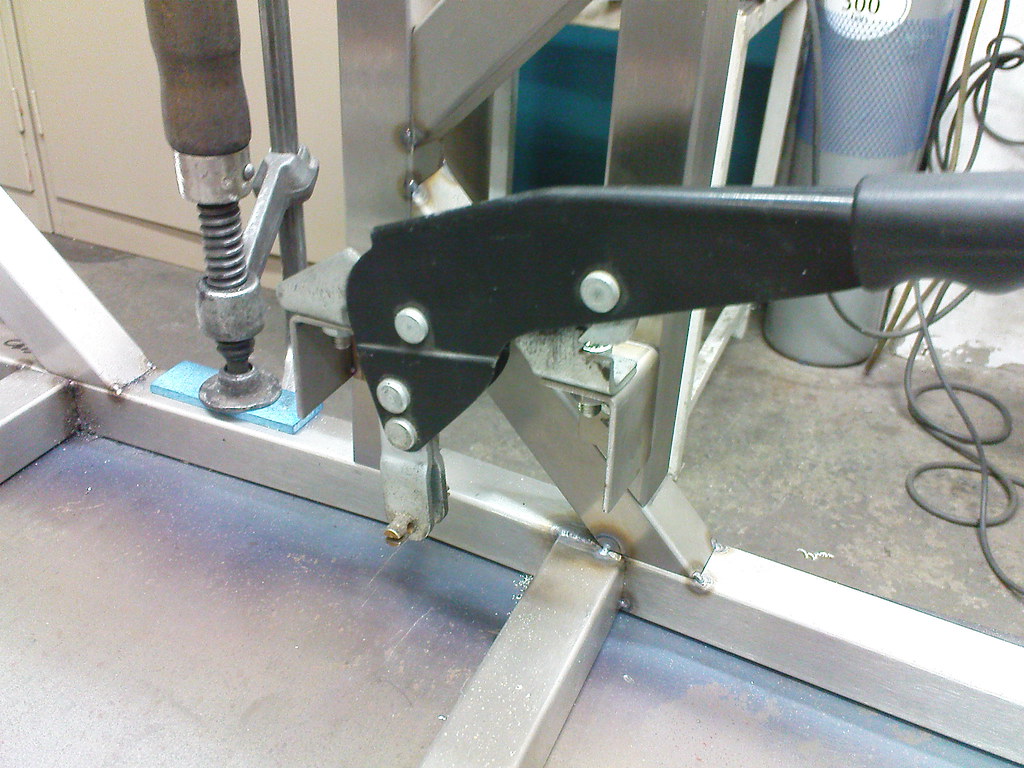 Today I made a few parts of the frontsuspension. 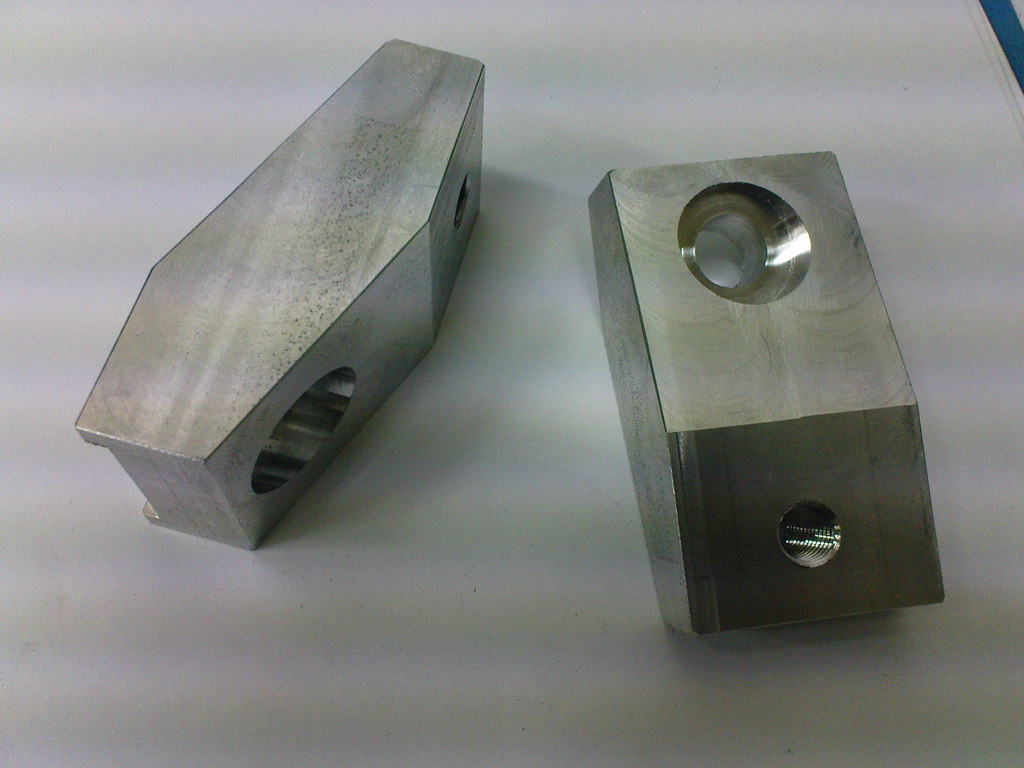 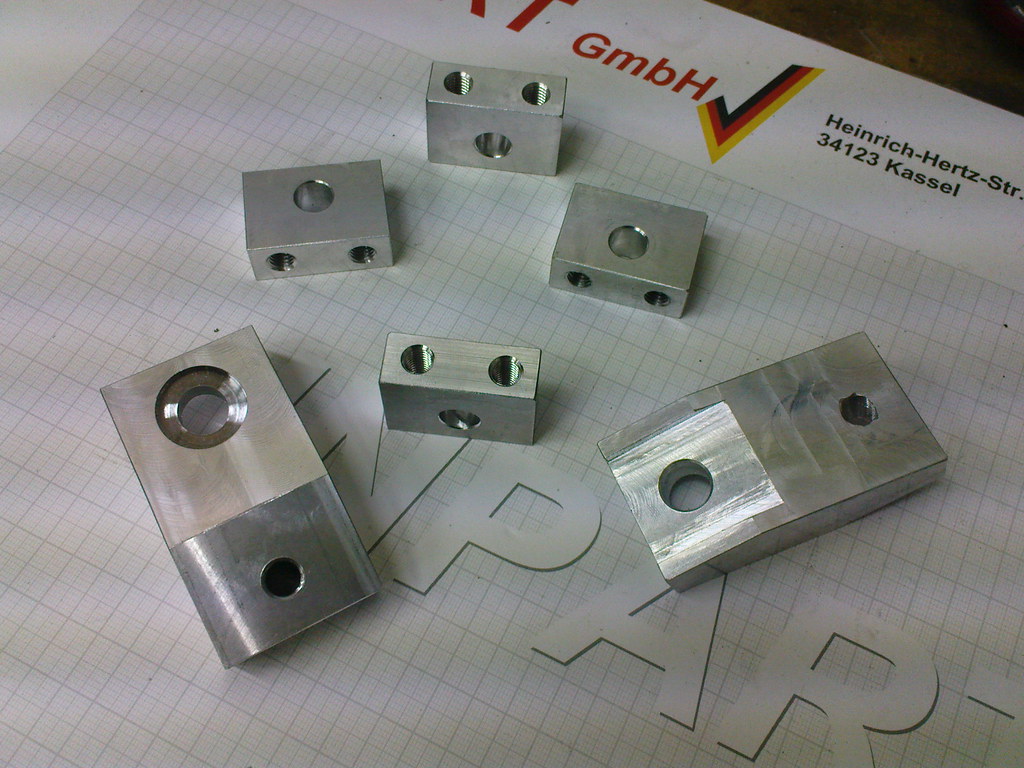 Hope to get a lathe the next weeks because I need a few swivel to go further. wil be back as soon as possible. Ralf |
|
|
|
Post by kolibri on Jan 12, 2012 17:02:38 GMT -5
Thanks for all the coments. Did some new things. Front, lower a-arm and part of spindle. 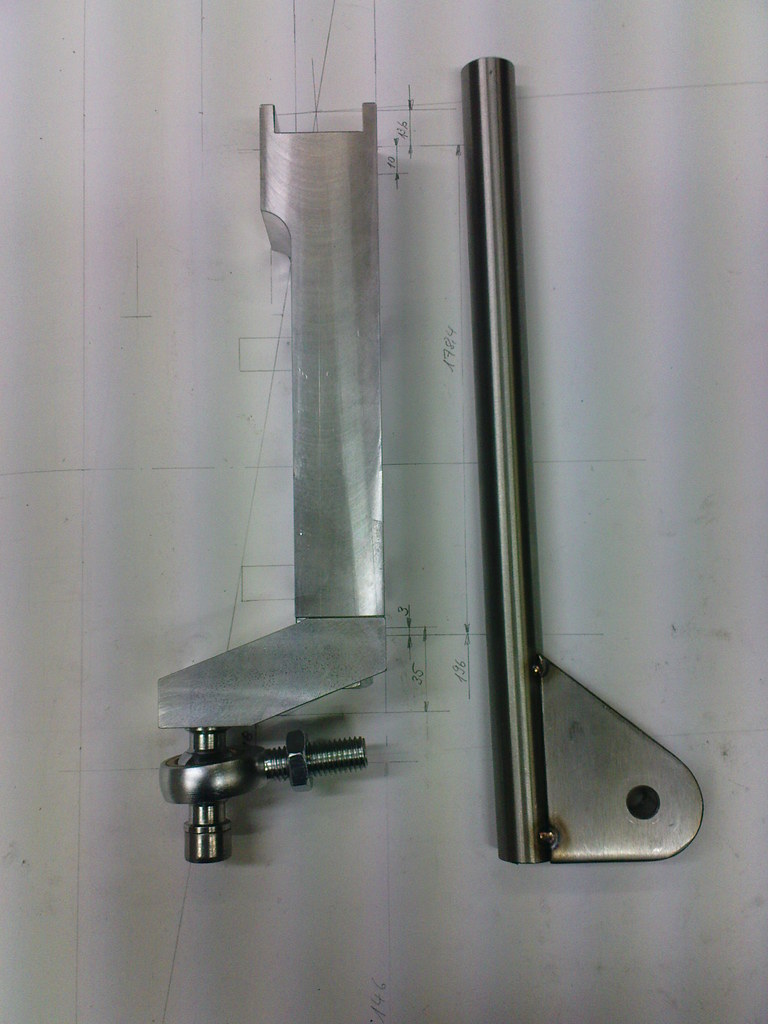 Spindle and brakeplate mounted.  Front lower a-arm and bracket for shock-rod. 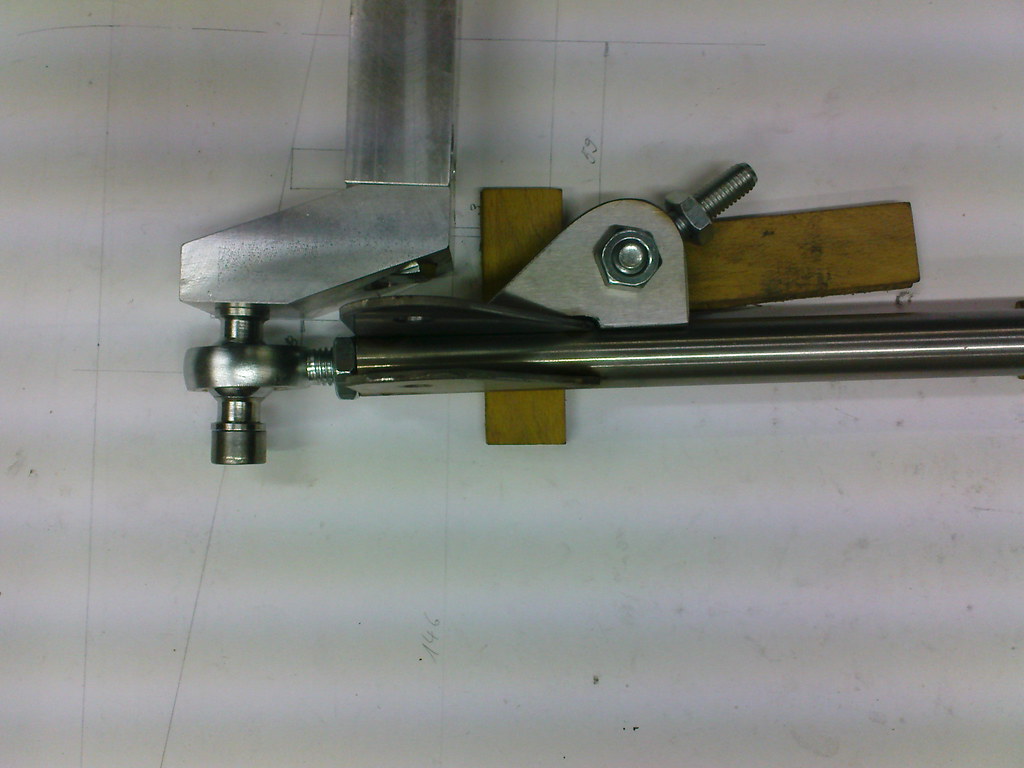  Some parts for a-arms. 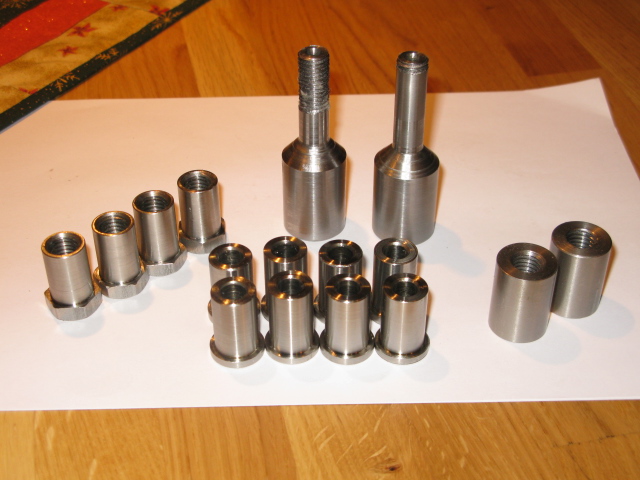 Thank you for watching. Hope to have a rolling chassis in 2 weeks. Cheers Ralf |
|
|
|
Post by scooterrebel on Jan 29, 2012 15:15:51 GMT -5
your work is impressive please keep posting
|
|
|
|
Post by kolibri on Jan 31, 2012 16:19:41 GMT -5
Hello here a little update: Did some bracer to the rear frame to make it stronger. 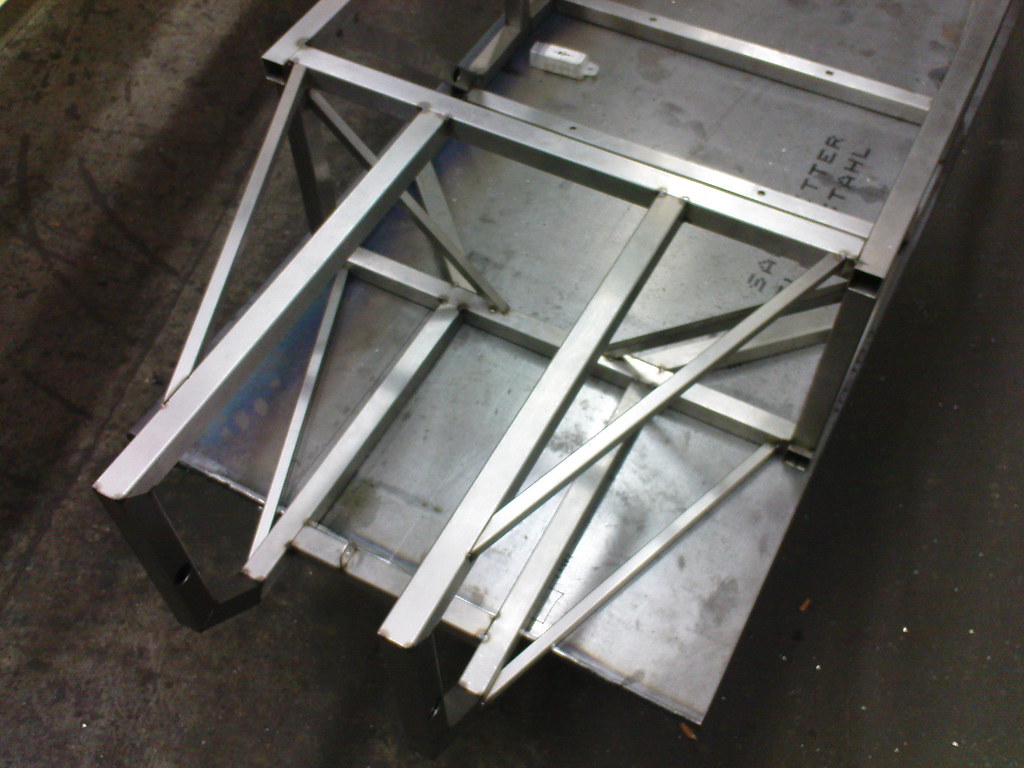  Started to put all frontsuspensionparts together. 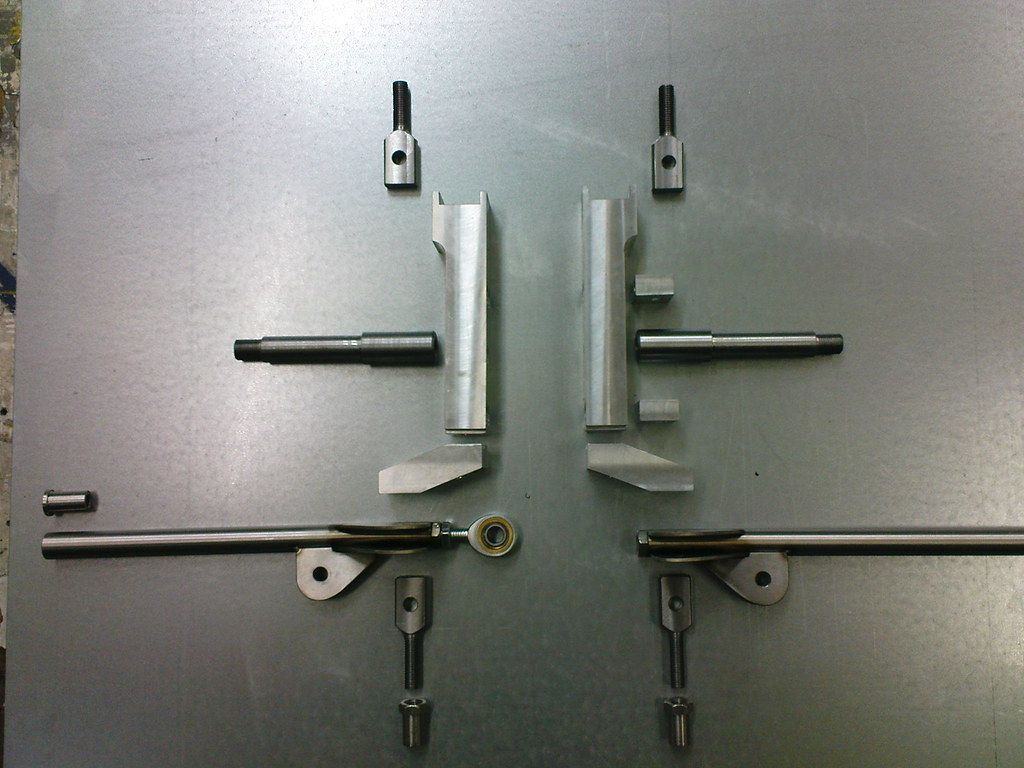 And then cutting tube to length for a-arms. Mounted all together and made a first wheel alignment of caster and camber. 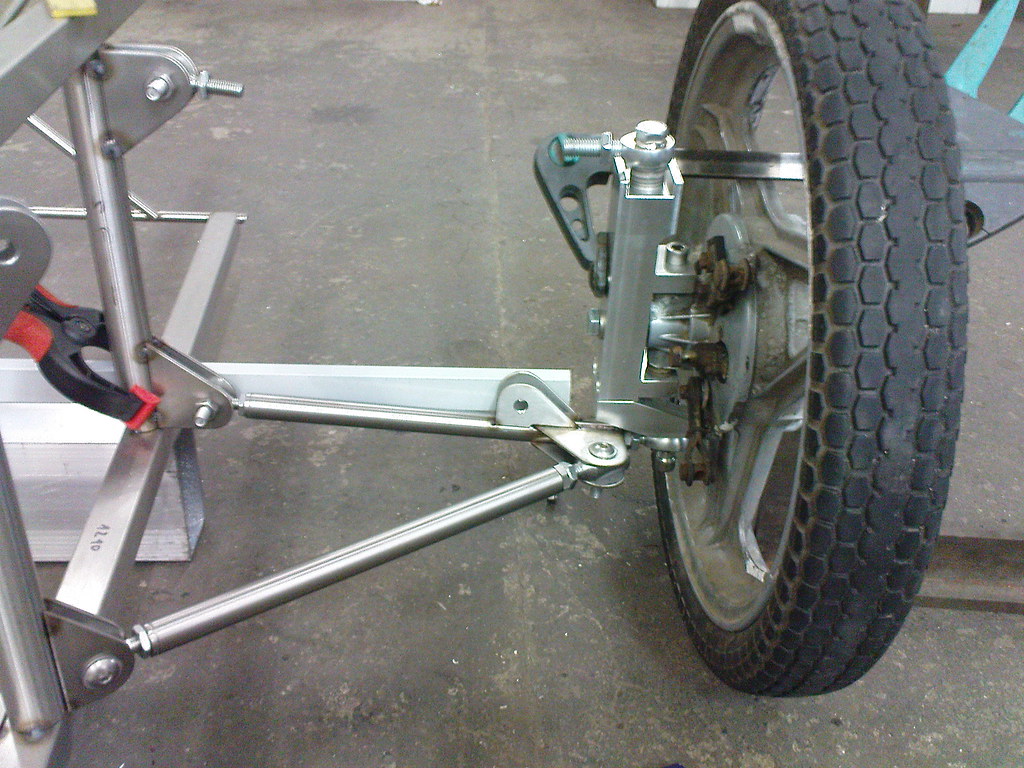 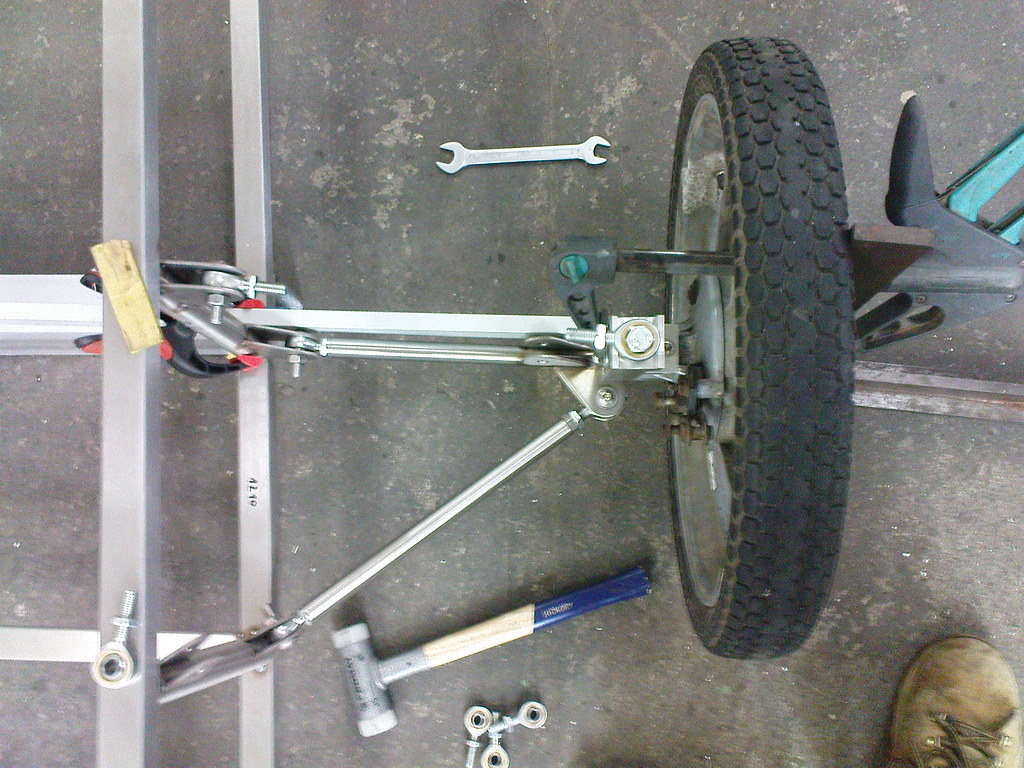  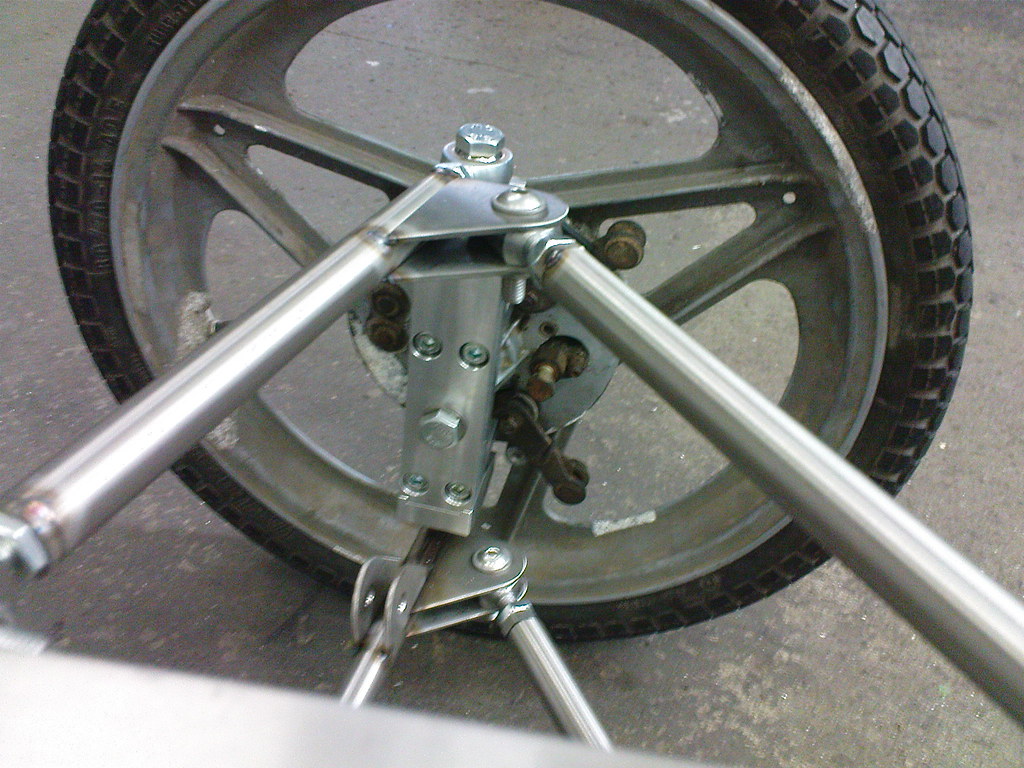  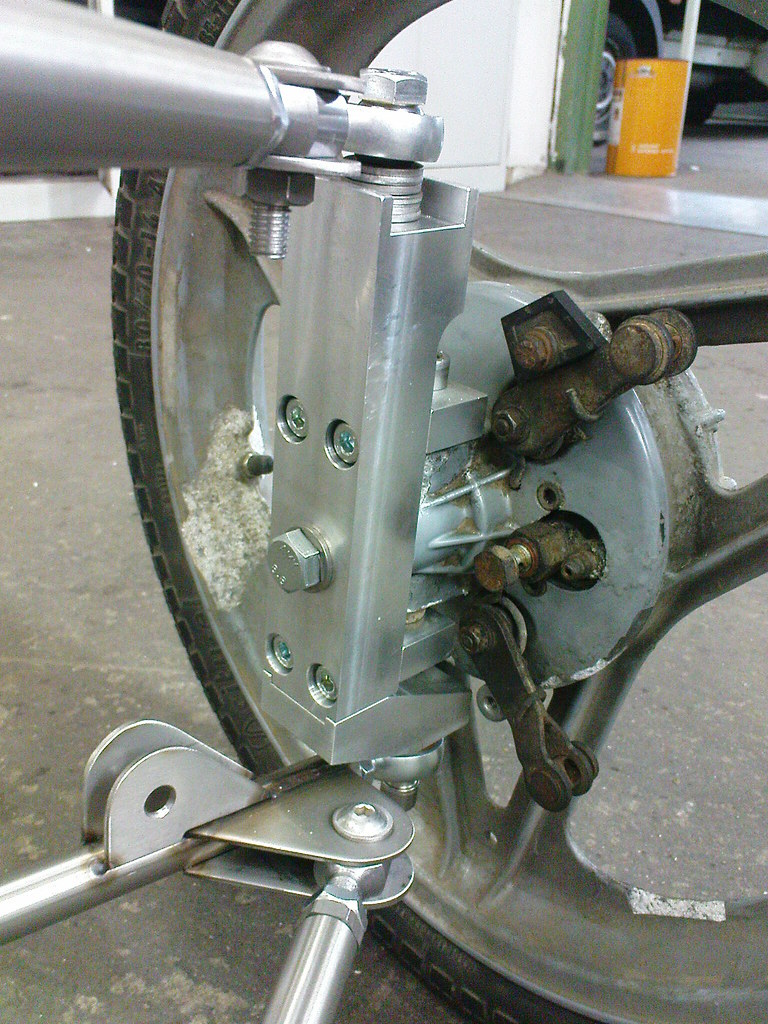  I decided to change the rear swingarm and make it easier. My first idea was to make it wide and strong but to align all bushing is not so easy. So I decided to use ball joints and straight material. First idea.  And here the final result.   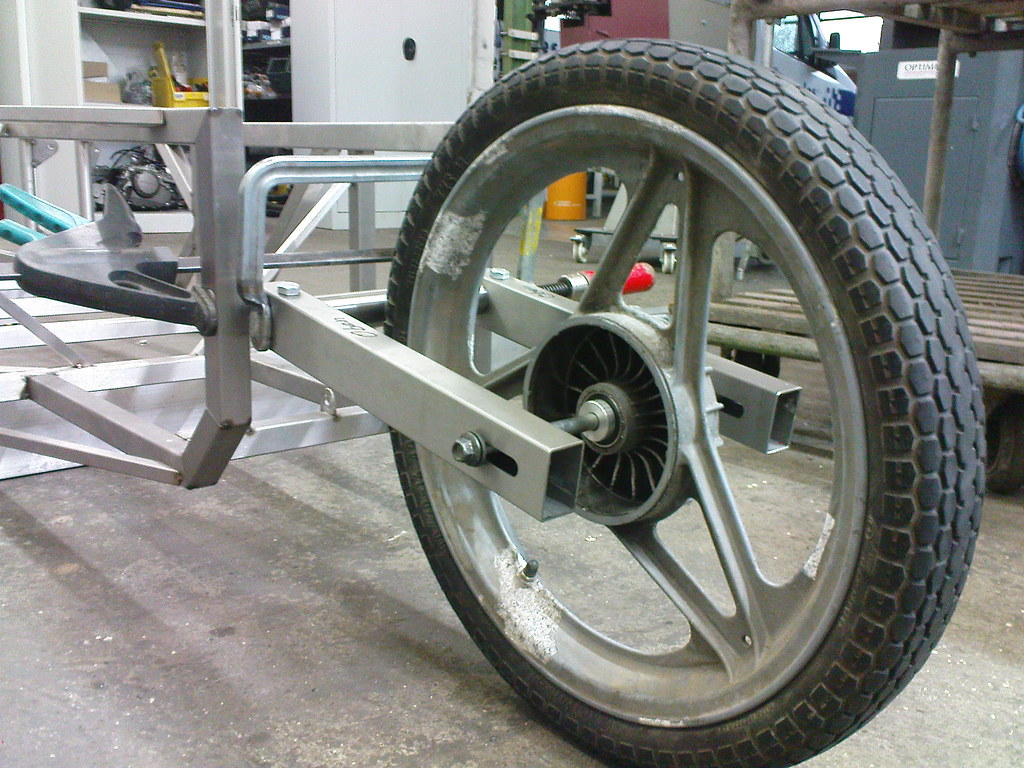  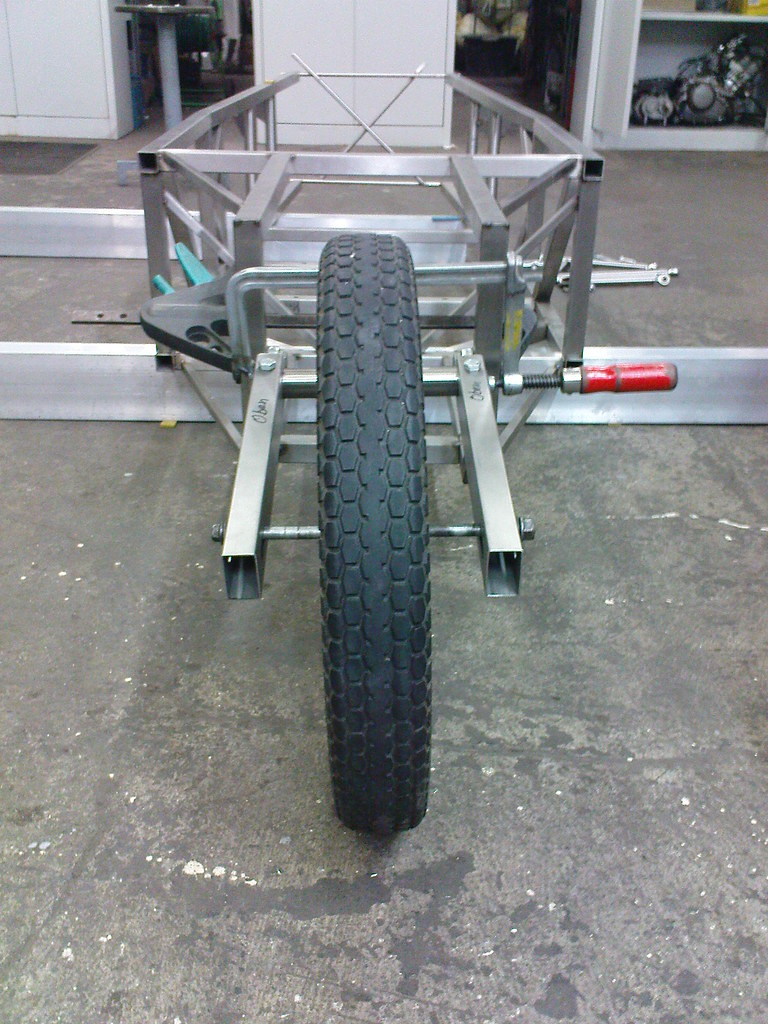 People who can count have a big advantage. So with my last order I forgot a few things and have to wait for parts to get a real three wheeler. So it is a one wheeler at the moment. Ha,ha. Sorry, the quality of the pic's is not so good. Thank you for watching. Ralf  |
|
|
|
Post by kolibri on Feb 28, 2012 18:01:14 GMT -5
@ncredleg It's pretty difficult to get a car streetlegal in Germany. I think the important thing is to find an inspector who is interested in new things and is able to help you. I am in contact with my inspector and will go for looking at the trike wenn I have all things spot welded and it stands on 3 wheels. After the trike is streetlegal there is no problem to get it insured. @all others Sorry that I can't continue my work at the moment and don't have any updates, but I have to change my shop once again. And sometimes I have to work a little bit. Hahahaha Hope to be back with some news soon. Sorry for my bad english. I really do my best. Hahaha Ralf  |
|
|
|
Post by kolibri on Mar 5, 2012 4:27:02 GMT -5
Got my KOLIBRI logo.
Thanks to my daughter Katja.
Good work.
What do you think?
|
|
|
|
Post by captainamerica on Mar 6, 2012 12:21:47 GMT -5
Did you purchase the A-arm threaded inserts? You have a picture of all of them up a ways. I made mine, and it was difficult and time intensive and I would like to be able to source them to save time on future a-arm fabrications.
-Andrew
|
|
|
|
Post by kolibri on Mar 6, 2012 16:18:12 GMT -5
Hallo captian, made my inserts by myself because i didn't find inserts in stainless steel . I used a little help by getting a long hexnut and trimed it to the diameter I needed.  The other inserts I made on my own because of the material. I found some websites with inserts but not stainless steel. Here are some links: secure.chassisshop.com/partlist/5929/www.mcgillmotorsports.co.uk/index.php?act=viewCat&catId=19The Uk are cheap but before you order ask for delivery costs it could be a surprise. Hope to answered your questions. Greetings from Germany Ralf  |
|
|
|
Post by captainamerica on Mar 6, 2012 22:53:00 GMT -5
Trimming a long nut is simple and cheap, this had not even crossed my mind, good work sir. Much better then my current standard of just welding grade 8 nuts to the end of steel tubing.
|
|
|
|
Post by kolibri on May 26, 2012 18:49:42 GMT -5
Hi everybody, had a lot of things to do the last months. Had to change my workshop.   Got a lathe two days ago 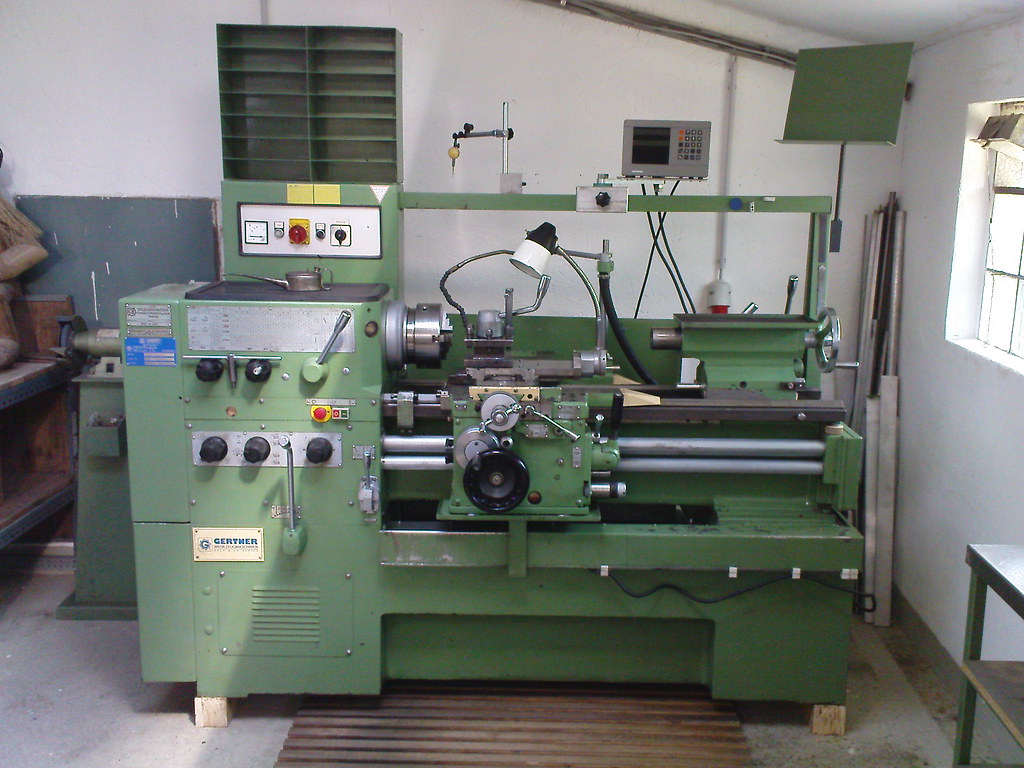 And a absolutely fantastic oilcan. ![]() farm8.staticflickr.com/7243/7275403586_0103a7475c_b.jpg farm8.staticflickr.com/7243/7275403586_0103a7475c_b.jpg [/img] Let's go back to the projekt. Here are some pics of the rear swingarm and the Comet reversebox. 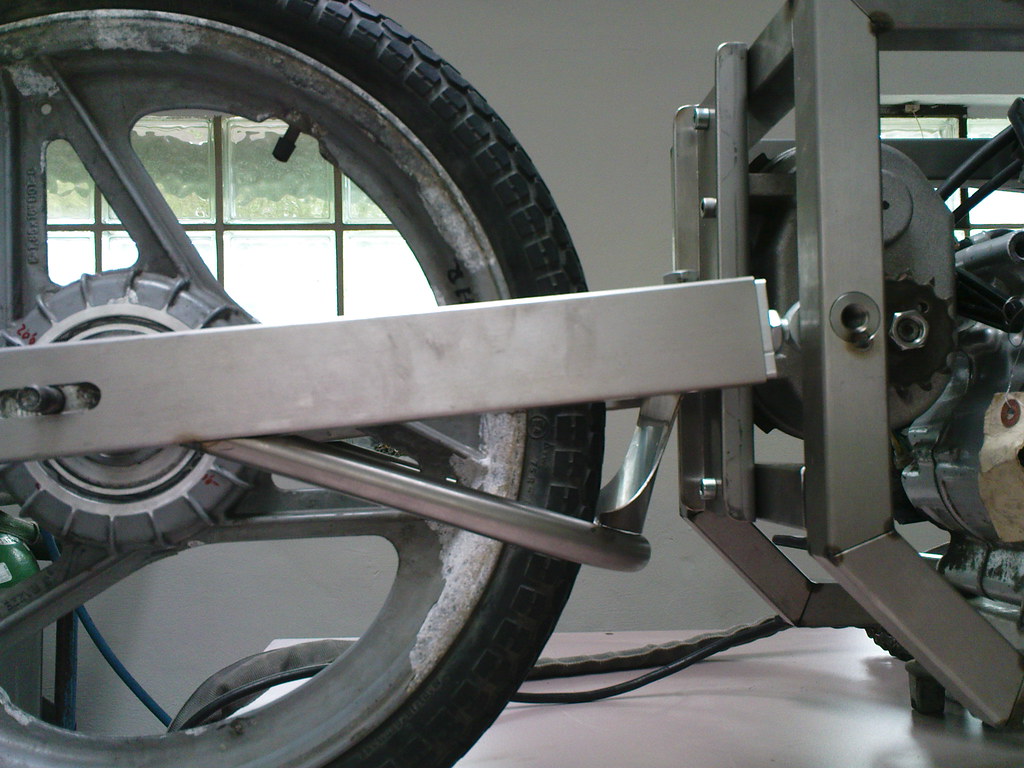 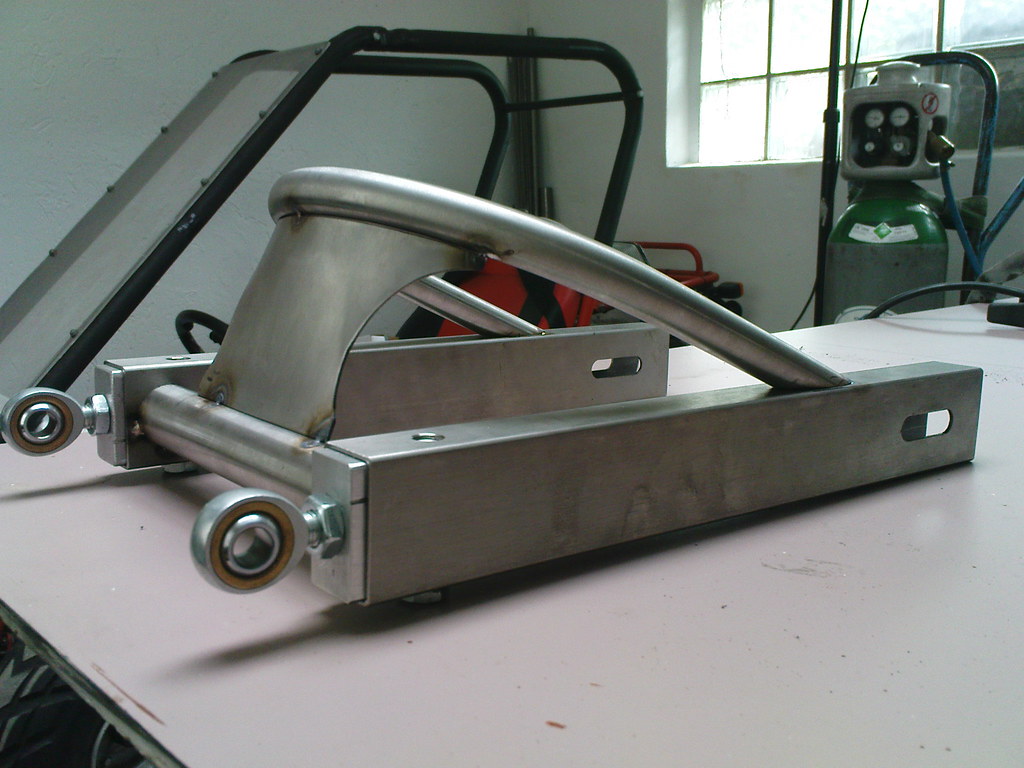 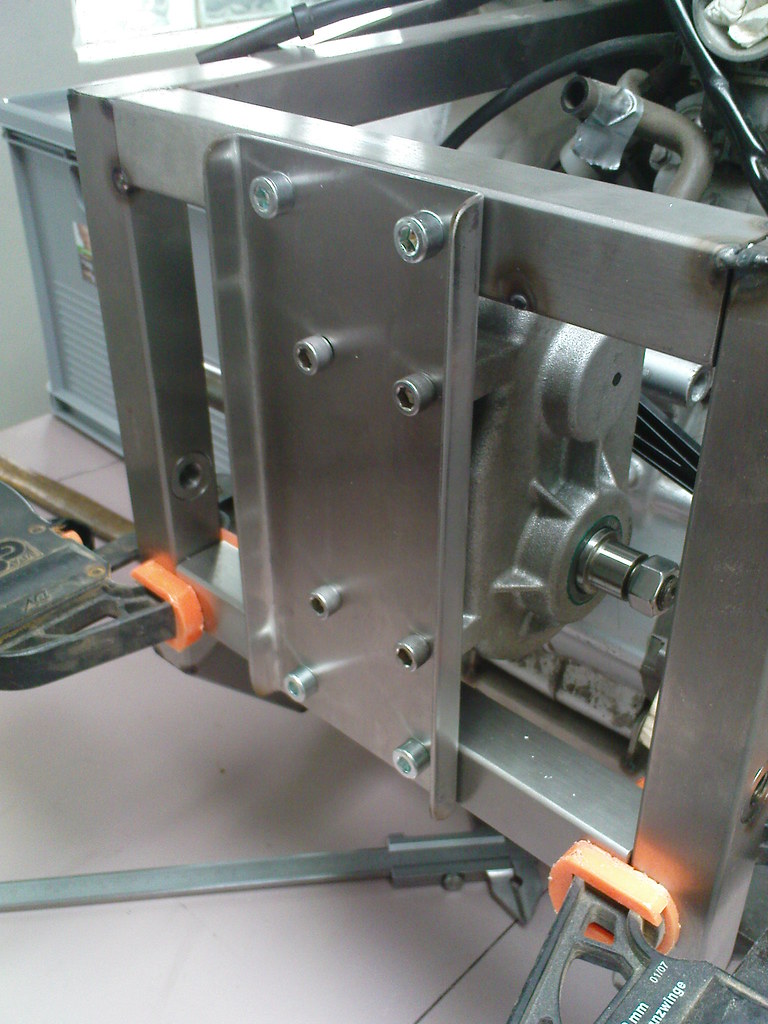  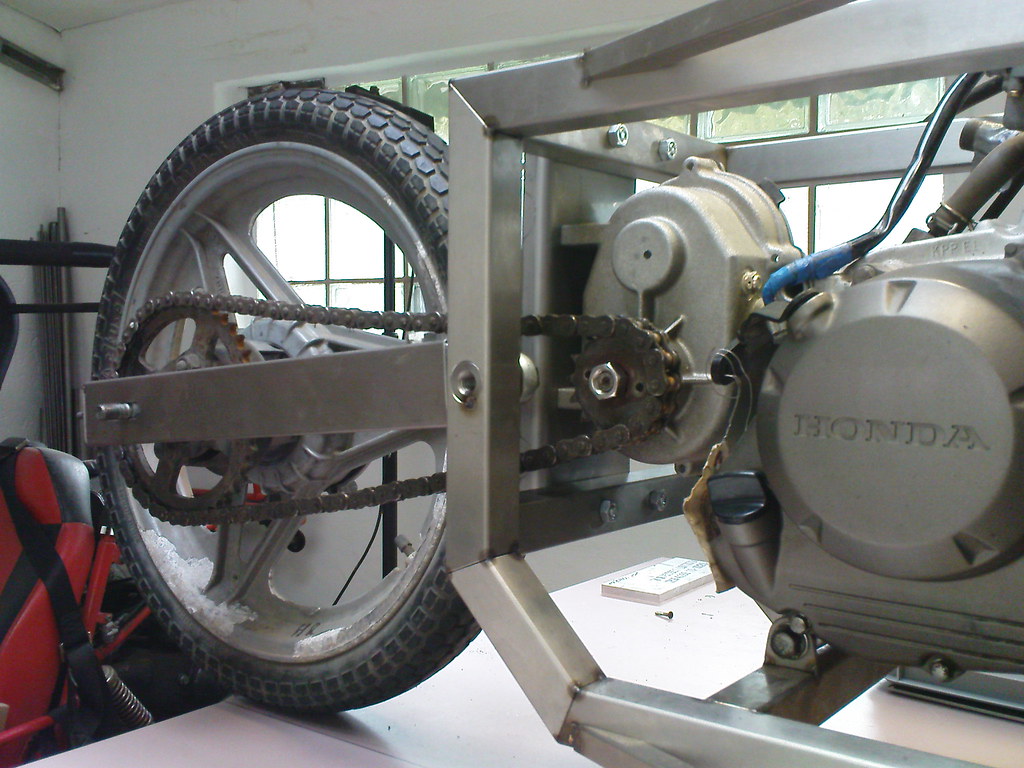 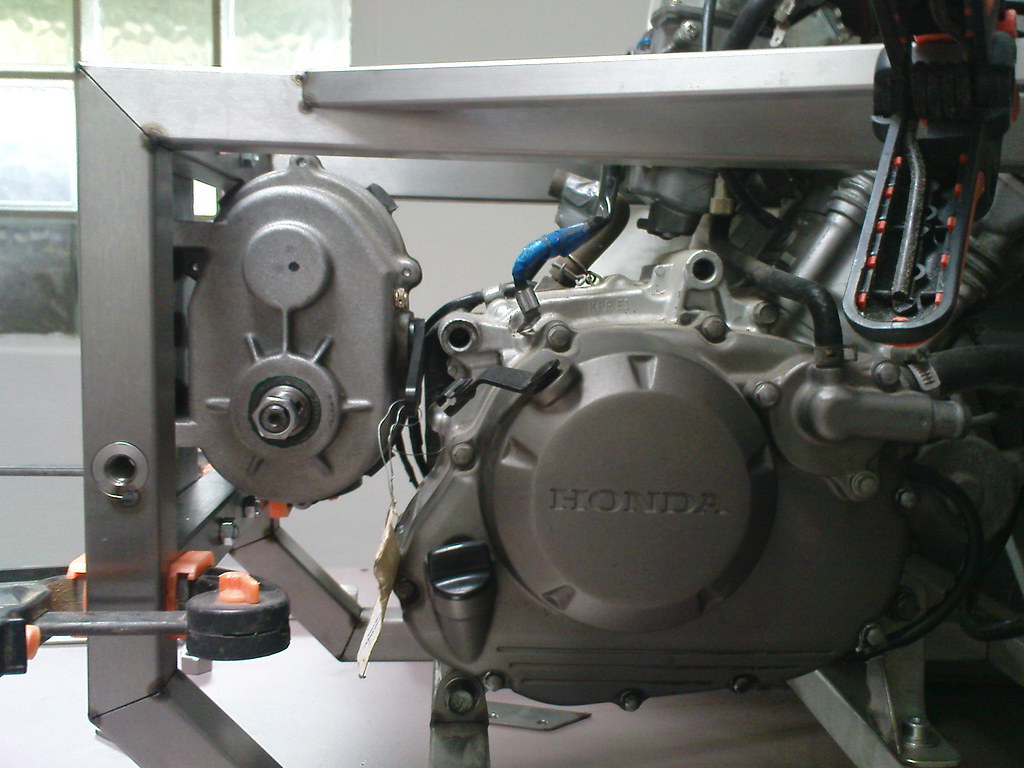 Started to late with my update. It's a quarter to two in the morning and my wife would like to go to bed. Tomorrow I will tell you about a big mistake with the steering and the changing of the complete frontsuspension. Ralf  |
|
|
|
Post by Liteway on May 26, 2012 21:42:07 GMT -5
I like that swingarm design Ralf. Looks light, strong, clean.
|
|
|
|
Post by kolibri on May 27, 2012 17:00:54 GMT -5
@ triblethreat: Thank you for your coment. Just was ready with my update and after I try to post it it was gone. I don't no why. So here is my next try . Started with the steering by making aluminium plates and than tried to get a good ackermann steering by crossing the rear wheel and the steering arms. 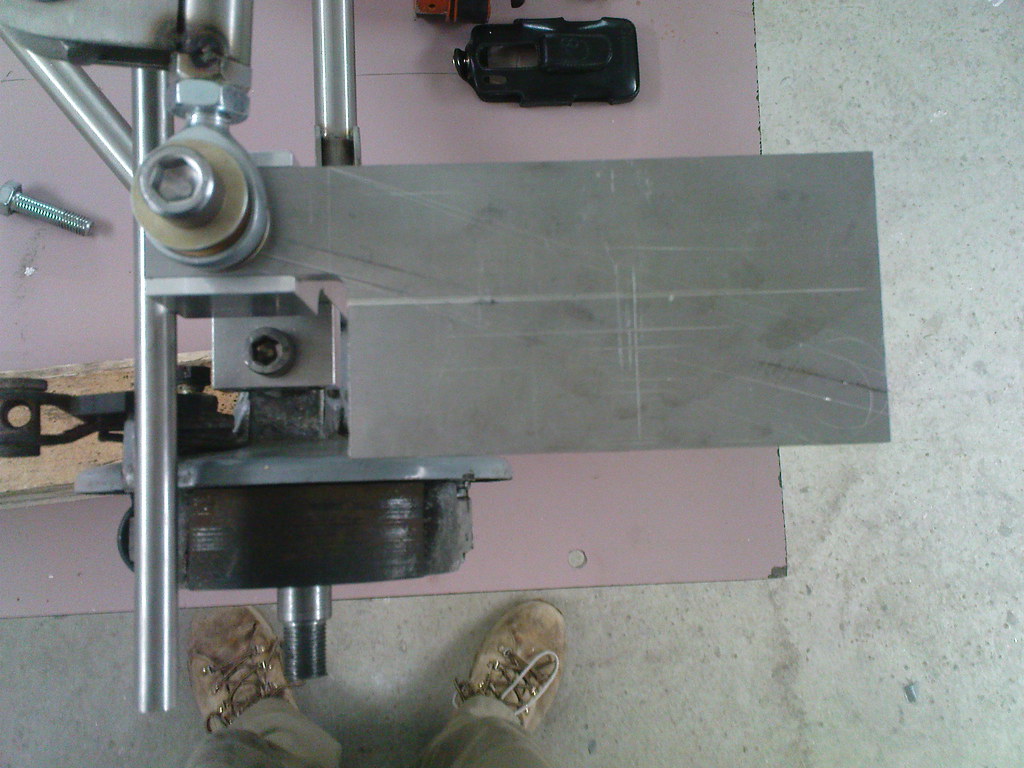  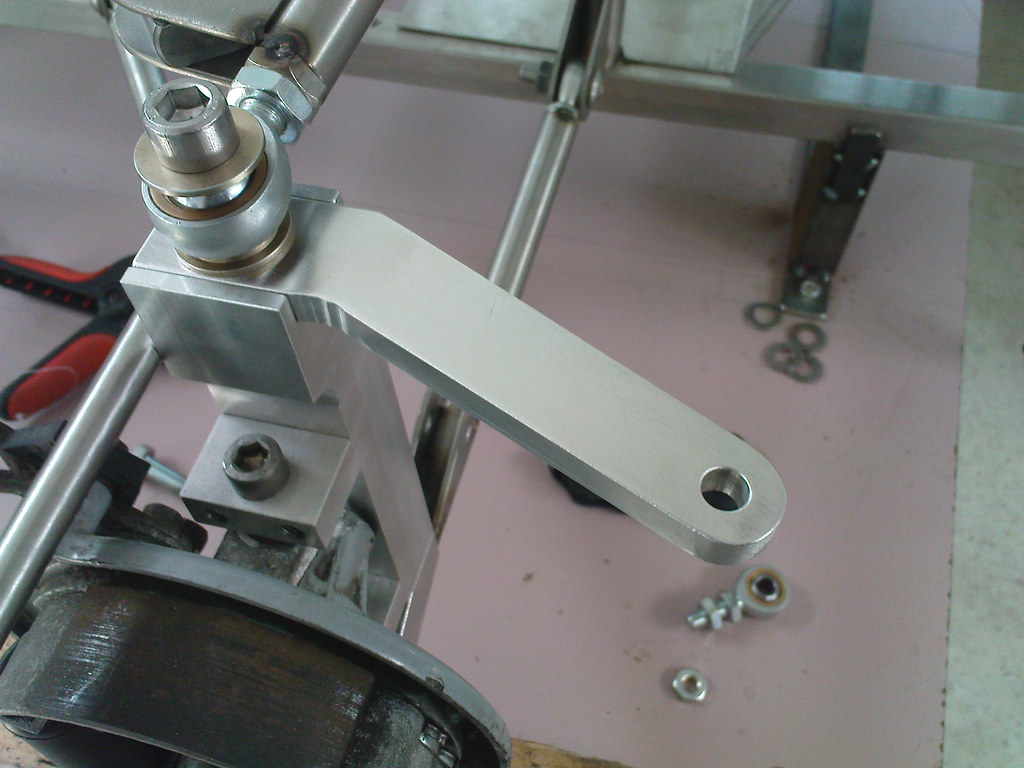  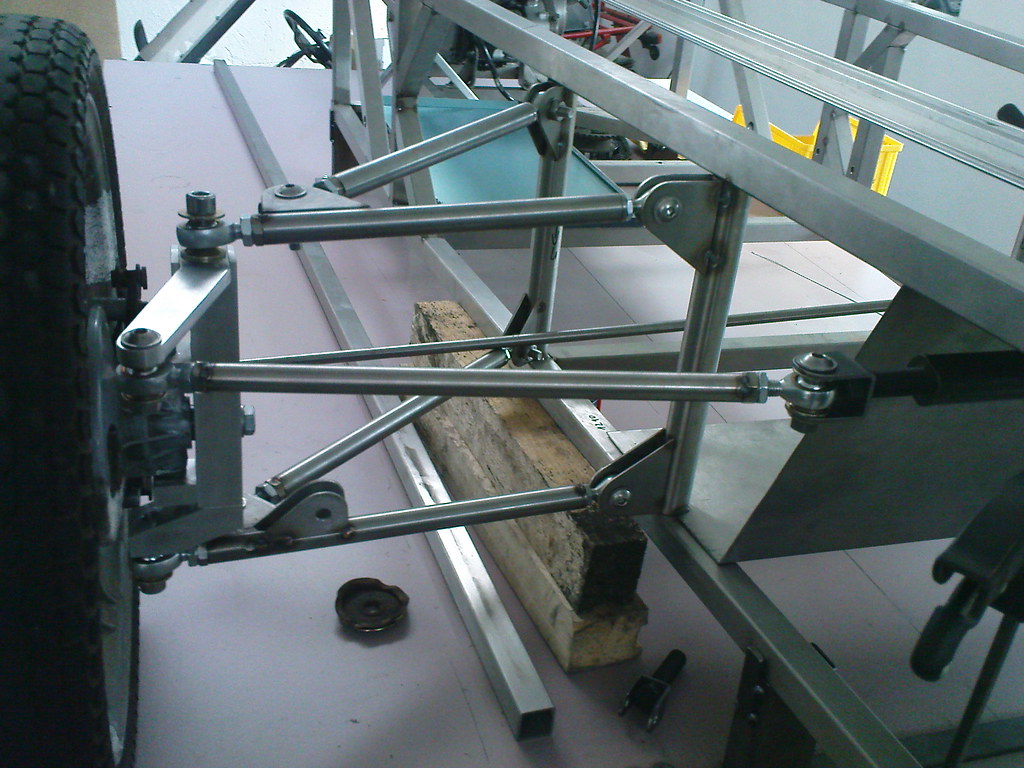 Hope that I can describe the problem with my schoolenglish. The outer wheel had a bigger angel than the inner so something was wrong. Find out that the steeringrack is to far in front of the line of the steeringarms. Because there was no option to change the adjustment of the steeringrack I changed the hole frontsuspension 161mm forward. Now after I made new steeringarms and change the length of the steeringrack it works pretty well.    Hope you can follow me with my english. Next I will work at the spring system. Thank you for watching. Regards Ralf  |
|
|
|
Post by kolibri on Jun 2, 2012 10:38:48 GMT -5
Got the damper last week so I started with the springsystem. Made a bracer over the frame and a aluminium holder for the damper.  Yesterday I got the bearings for the damper and pushed them to the holder.  And here is the result as it would look when it is mounted.  Than I made a master plate for the ratio arms, and placed it to be shure that it will work.    After everything was good I started making the arms from metall.  At the moment my lathe is not under electricity but I hope so next week , so Iwill be able to make all the bushings I need. Ralf  |
|
|
|
Post by joeld0803 on Jun 2, 2012 18:27:05 GMT -5
What shock and lb rating did you go with there?
|
|
|
|
Post by kolibri on Jun 3, 2012 3:30:44 GMT -5
These mono shocks are from a scooter.  I don't have any information about the real lb rating they have. I bought Speed-Wiz and there it is possible to find out what the rating should be. So I put the data wire diameter, coil diameter and active coils to the program and it says the rating should be at 193 pounds per inch. With a weight of 80kg at the front wheel I can change the power to the shock from 83 - 330 Kg. Hope to be so far next week and it will work. Haha. Ralf  Wrote a little excel program where I can calculate the power to the shocks by using different ratio at the arms. |
|
|
|
Post by kolibri on Jun 13, 2012 16:55:48 GMT -5
Once again I made some brackets for the suspension. Realy love that polished stainless steel.  This is how I made the plates for the baffle of the rear suspensions. First cut triangles from 3mm stainless steel plates. Bolt them together with one 10mm hole and the masterplate. Then the next hole and so on. After that a lot of grinding and the plates are ready.   Here the result of the rear suspension. Because of the possibility of changing the length of the arms I can choose the power to the shocks. I tried this with the masterplate and I think this will work pretty well.       Lathe is still not working so no chance to make all the bushing I need. Ralf  |
|


![]() [http://farm8.staticflickr.com/7009/6545796817_ed2fd25a8a_b.jpg/img]
[http://farm8.staticflickr.com/7009/6545796817_ed2fd25a8a_b.jpg/img]


