|
|
Post by Liteway on Mar 9, 2014 21:16:21 GMT -5
Thanks Stretch. I'm done for a while. These are last pics for this phase. Weather was beautiful today, cleaned up the trike and went for a ride. I'm a bit burned out for now and the wife has a lot of springtime honey dos' lined up. May be a while till the next phase gets started. 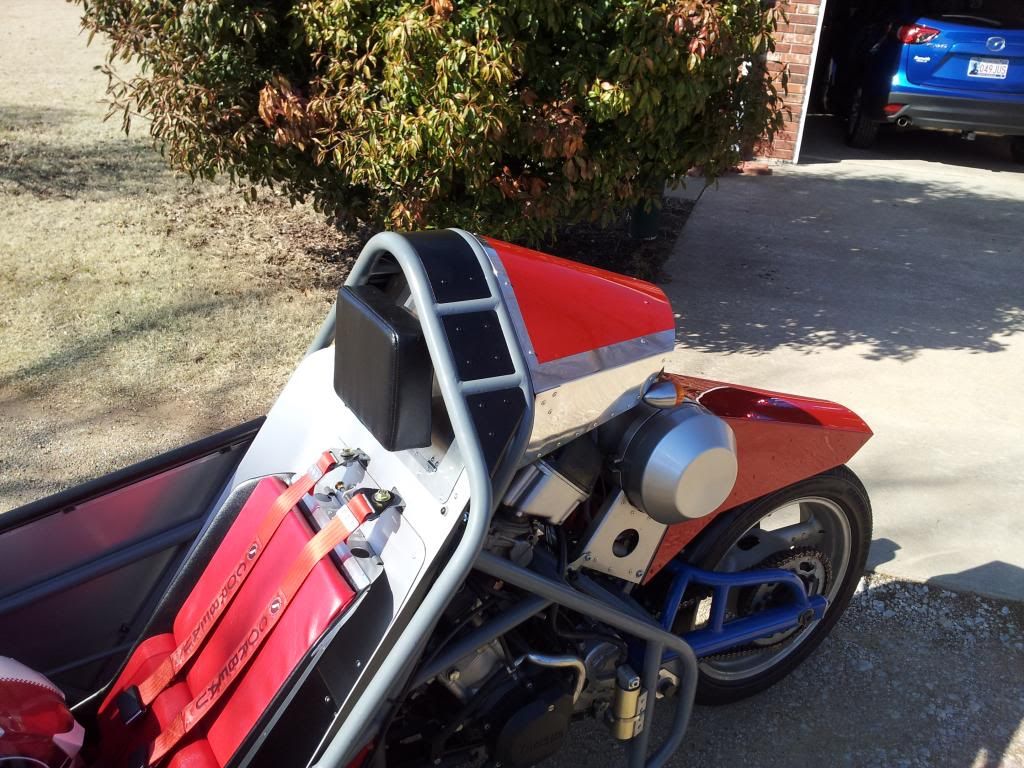 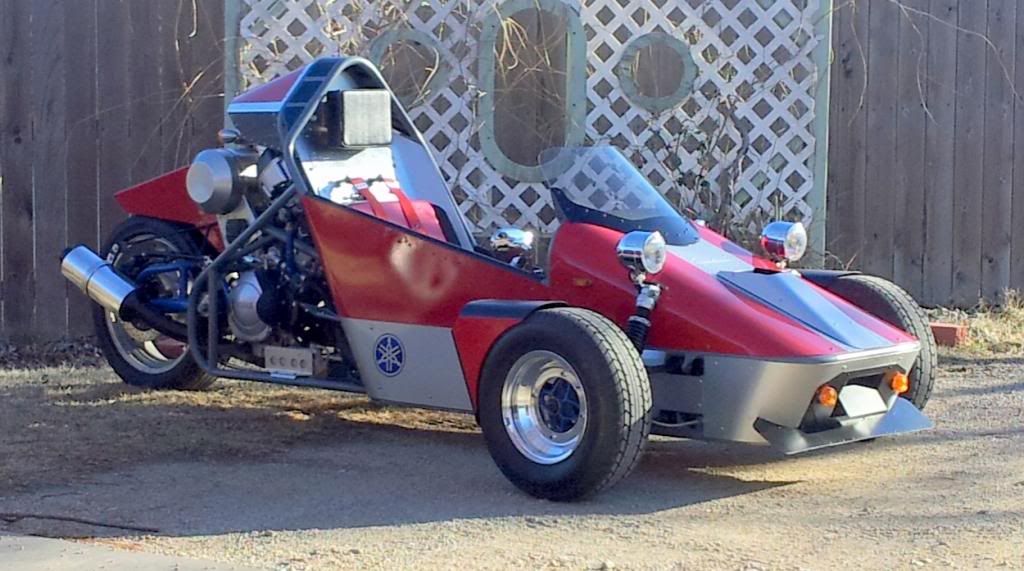 |
|
|
|
Post by Liteway on Mar 22, 2014 14:31:51 GMT -5
Lots of traffic on the forum today. I like that. After 4 yrs, last time for this view. Going to move everything back to sync with reclined sitting position and revised cowl. Steering handles were easy, just took up a few threads in the lower links put them back about 4 inches. Shifter was not easy. Removed, cut, rewelded, painted and reinstalled. 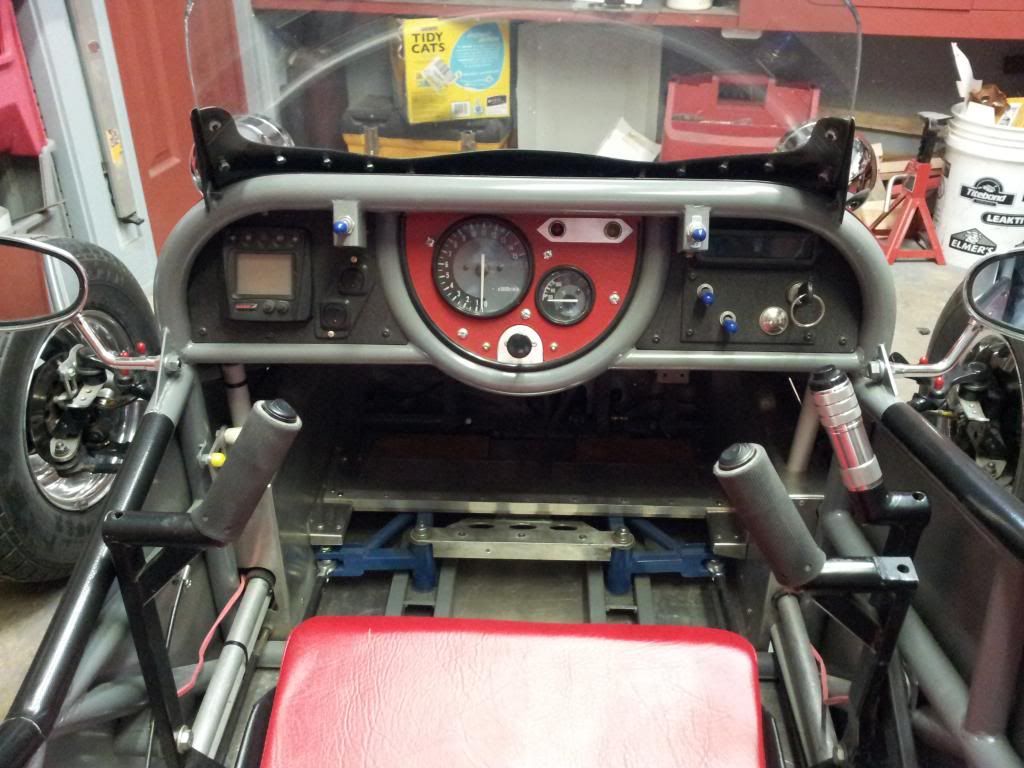 Now dash is a long reach when belted in. Must come back. The loop around the speedo and temp gauge was there to support a steering shaft that was removed years ago. That goes. I sometimes bumped my knee on the bar across the bottom of dash. Will be glad to see it go. There were good reasons to redo the dash beyond appearance. 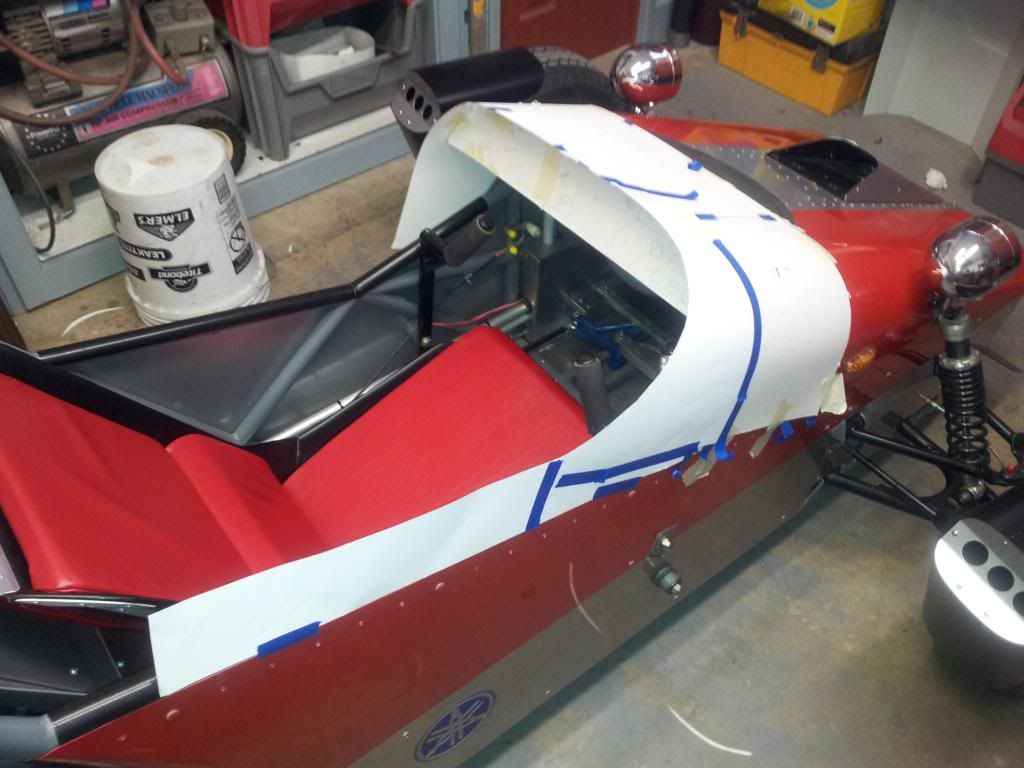 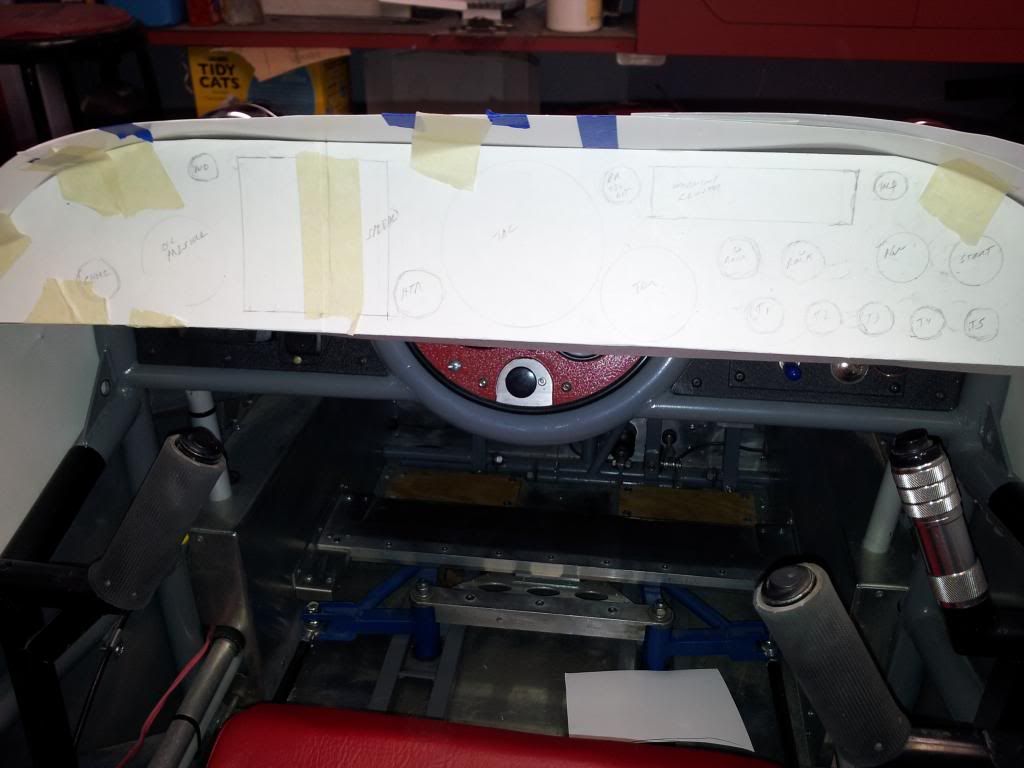 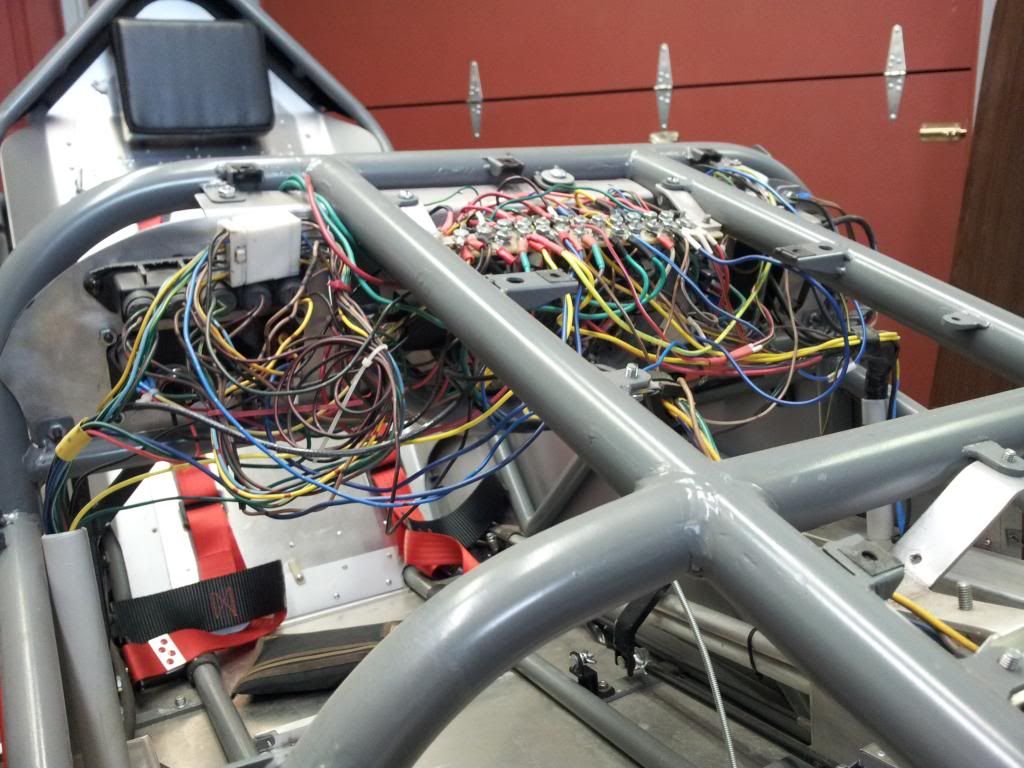 All the electrical behind the dash has to be moved. 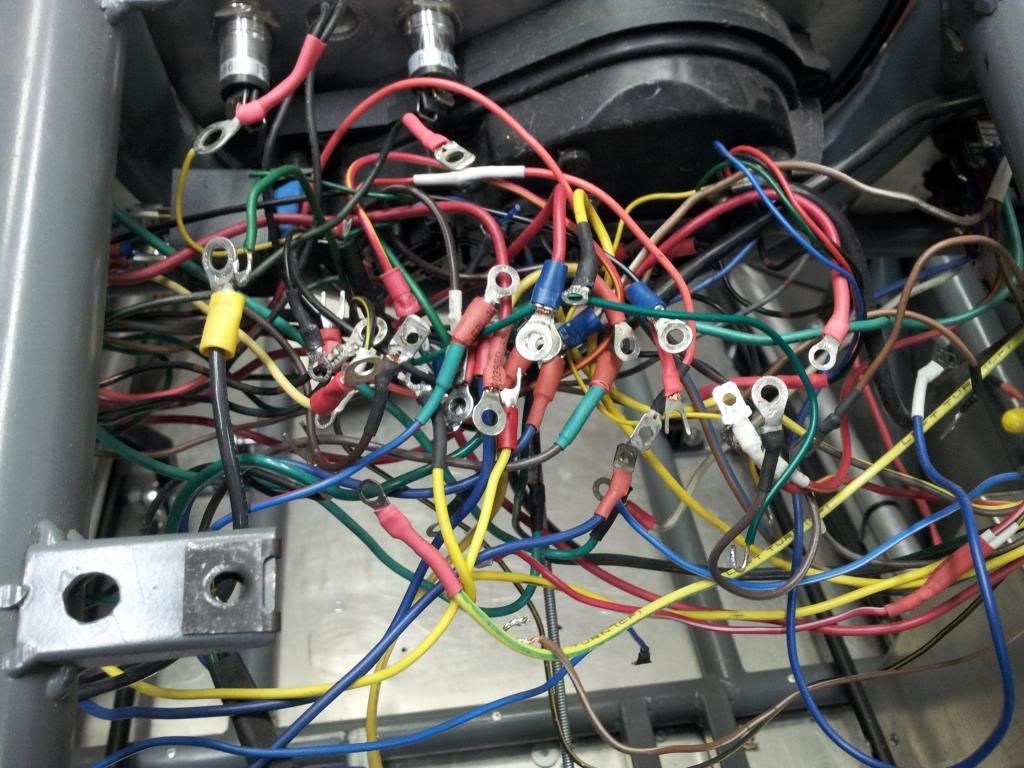 No problem remembering where everything goes. ha ha More room, more possibilities. Mission creep rares its ugly head. 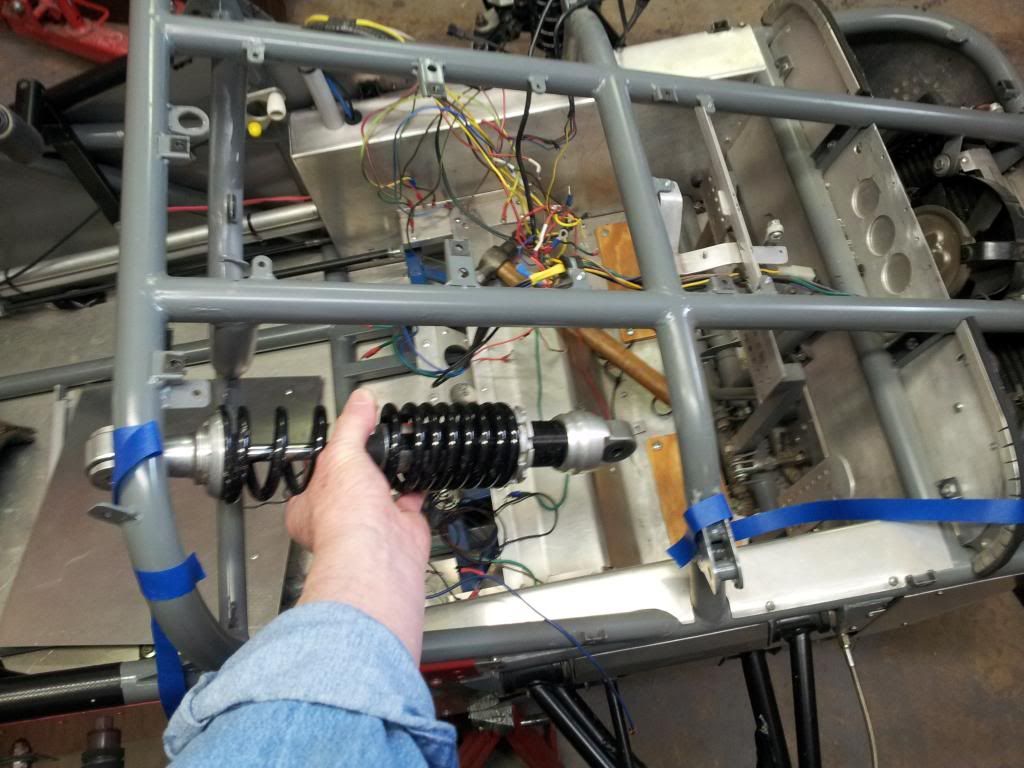 |
|
|
|
Post by jim99 on Mar 22, 2014 18:43:28 GMT -5
The question I’m often asked is “When did you finish your trike”? My answer is about May 2018, maybe.
It's nice that we can make changes on a whim, but it's bad that we can make changes on a whim. :-)
Jim
|
|
|
|
Post by Liteway on Mar 22, 2014 21:11:45 GMT -5
Spot on.
|
|
|
|
Post by stretchmobileski on Mar 22, 2014 22:24:46 GMT -5
Hey it wasn't that long before you are back on it. I was thinking 6 months or something. I like your ideas. Can't wait to see the results.
|
|
Deleted
Deleted Member
Posts: 0
|
Post by Deleted on Mar 25, 2014 21:24:39 GMT -5
My thoughts are, reduce electrics to a bare minimum; that is, remove all the wires that are not essential to the operation of your trike.
That means; look at everything requiring electric power and ask, is this necessary for the operation of the machine? Look at Bugatti, not a perfect example but one that I am more familiar with. He had no speedometers in most of his cars. Not that that was necessarily electric but still...
He had hand pumps as I recall, for oil, etc.
This advice is for anyone who prefers to simplify as I do - I had a 1946 Chevy pickup truck for years and it was the simplest thing electrically you could imagine. The only difficult part for a home-fixer was the voltage regulator. I spent many moons trying to figure the thing out and never did. The six-volt system kept the truck going most of the time!
|
|
|
|
Post by Liteway on Mar 25, 2014 23:45:42 GMT -5
I think I was trying to be a little too dramatic with the wiring tangle thing. 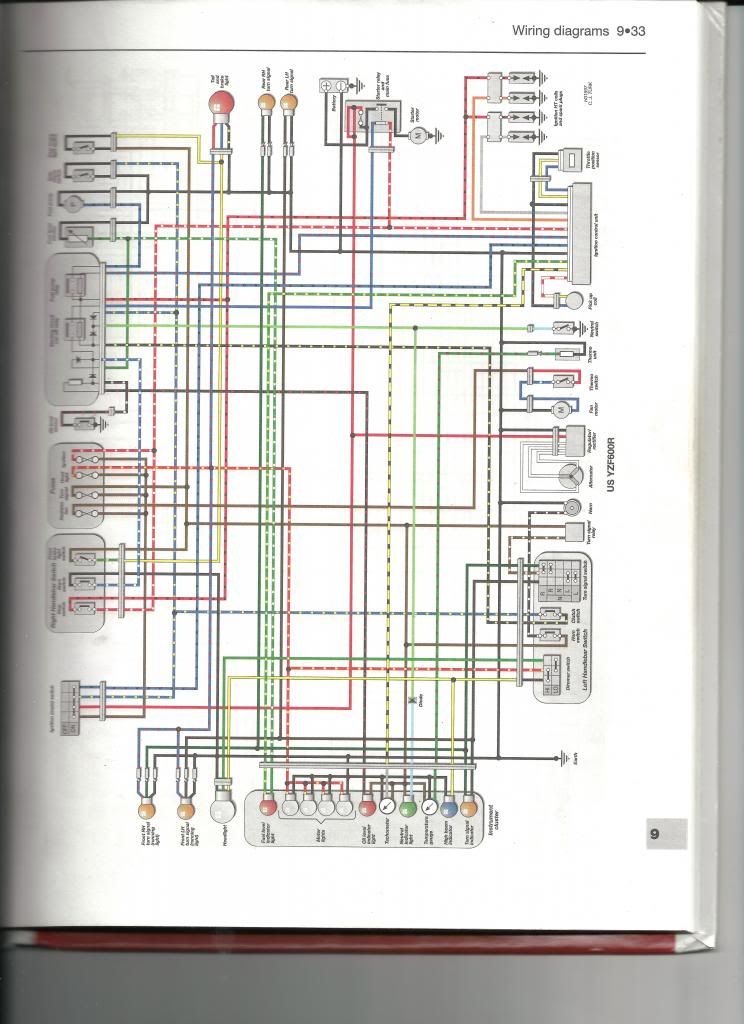 . This is a schematic from the donor bike. I have simplified in some ways, complicated it in others. I eliminated the entire starter circuit cutoff relay which had ten leads coming off of it to stuff like a kickstand, clutch, and neutral interlocks. I found the other stuff such as lights, horn,instruments, to be quite useful. Bet your pickup truck did not have a computerized ignition with 12 leads coming off it going to ignition coils, throttle position sensor, and pickup coils, among other things. I eliminated the oil level light but sure like the low level fuel warning, which I went to lot of trouble to adapt to my moon tank. Bikes mechanical speedo coming off a gear drive in the front hub was not adaptable. Electronic unit was substituted, as speedo/odo is required by Okla. law and I would not care to do without one anyway. I did some silly stuff like individual headlight switches. Side running lights were installed and I incorporated a double throw switch that make them signal repeaters during daylight hours; installed a relay with a fuse for the juice sucking air horn. Put in an override switch and a dash light for the thermostatically controlled radiator fan so that I can use it as a heater fan in the winter. All that could be eliminated, But why? I enjoy playing with that stuff and It has not ever left me stranded... yet. All the electrics come together in two places, behind the seat and ahead of the dash. 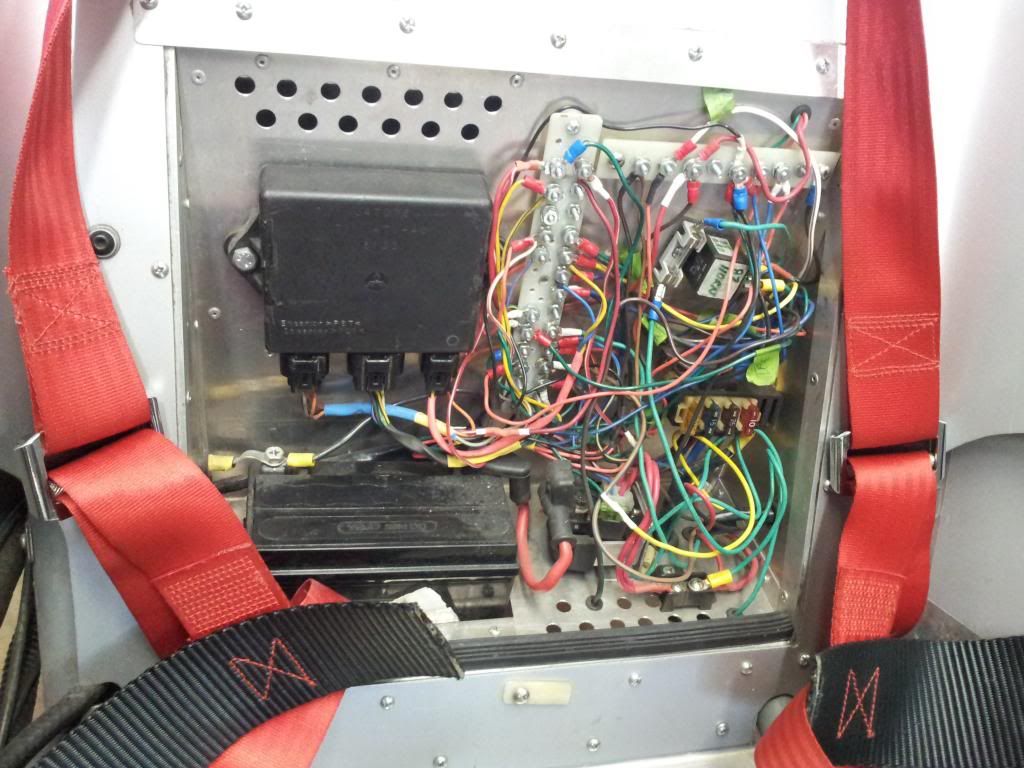 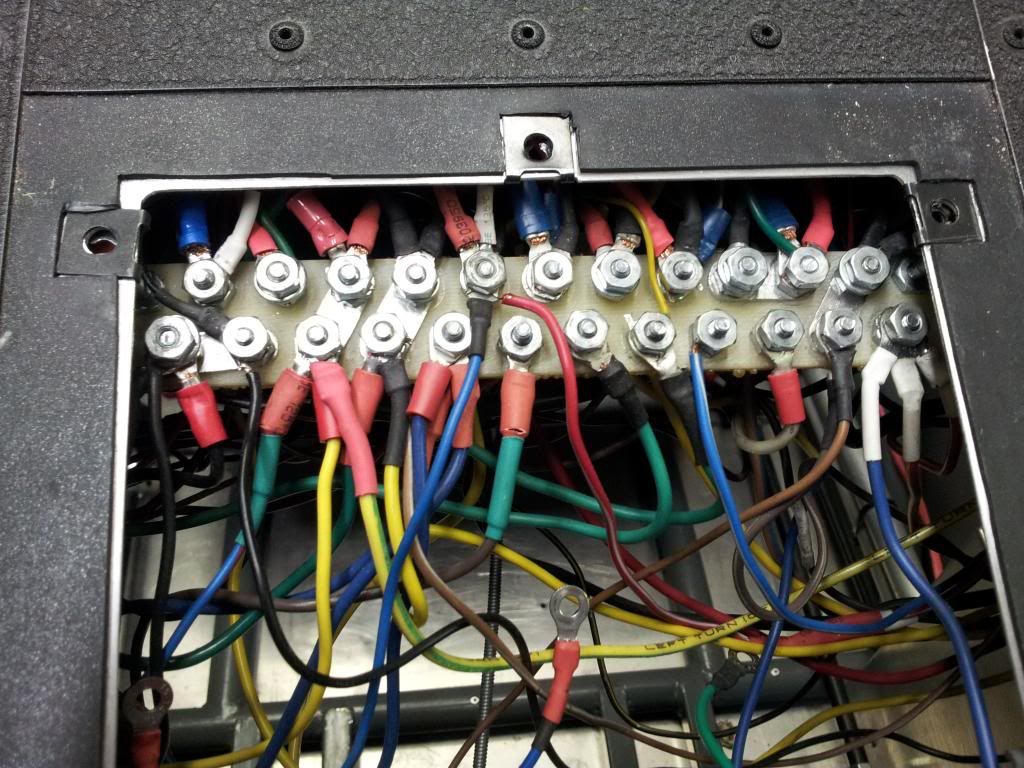 Most agree it is best to leave the bike harness with its various connectors as intact as possible, to try to keep things neat. I wanted to do that, but wound up chopping it all to hell. For guys who enjoy making mods, having it all terminate on terminal boards makes changes without soldering easier. |
|
|
|
Post by DaveJ98092 on Mar 26, 2014 2:21:51 GMT -5
|
|
|
|
Post by Liteway on Mar 26, 2014 8:33:40 GMT -5
Can't see your cable Dave. My favorite thing was working to find and deload a pair in a 600 pair load coil terminal so that a customer could have DSL. All the better if you are hanging off a ladder 20ft in the air, throw in 100 degree heat or 40mph below freezing winds. Or in a cramped ,damp, possibly gassy underground vault. Man, wish I wasn't' retired! ha ha. Get pic of one of those and we will all be impressed.
|
|
|
|
Post by DaveJ98092 on Mar 26, 2014 11:21:44 GMT -5
Yeah, some people can do plumbing, I can NOT!!! If you want it to leak, I'm your man.
I can do minor carpentry work but most of the time end up hitting the thumb nail before the steel one.
Wiring, easy peasy.
|
|
Deleted
Deleted Member
Posts: 0
|
Post by Deleted on Mar 26, 2014 13:12:08 GMT -5
triplethreat said,
Most agree it is best to leave the bike harness with its various connectors as intact as possible, to try to keep things neat.
I wanted to do that, but wound up chopping it all to hell. For guys who enjoy making mods, having it all terminate on terminal boards makes changes without soldering easier.
rapt9 says:
I haven't chopped anything up yet, but I will. The donor is a 920cc Virago 1983, and those had the big screen right ahead of the tank, and wires going into it were never seen again! At first I was like "most" agreeing that it was best to leave well enough alone, but I began to see the tangle of wires that would result.
So I have decided to take it one step at a time, connect what I need and jettison the rest. That '83 Virago just has way too many circuits for my taste. I understand that this is a tricycle and doesn't have to abide by automobile rules, for instance speedometer, tachometer, indicator lights are all optional, as is fuel gauge and several more electric bits.
I agree about the terminal board simplifying things.
|
|
|
|
Post by horsehammerr on Apr 15, 2014 4:50:02 GMT -5
Haven't quit. Just got sidetracked. 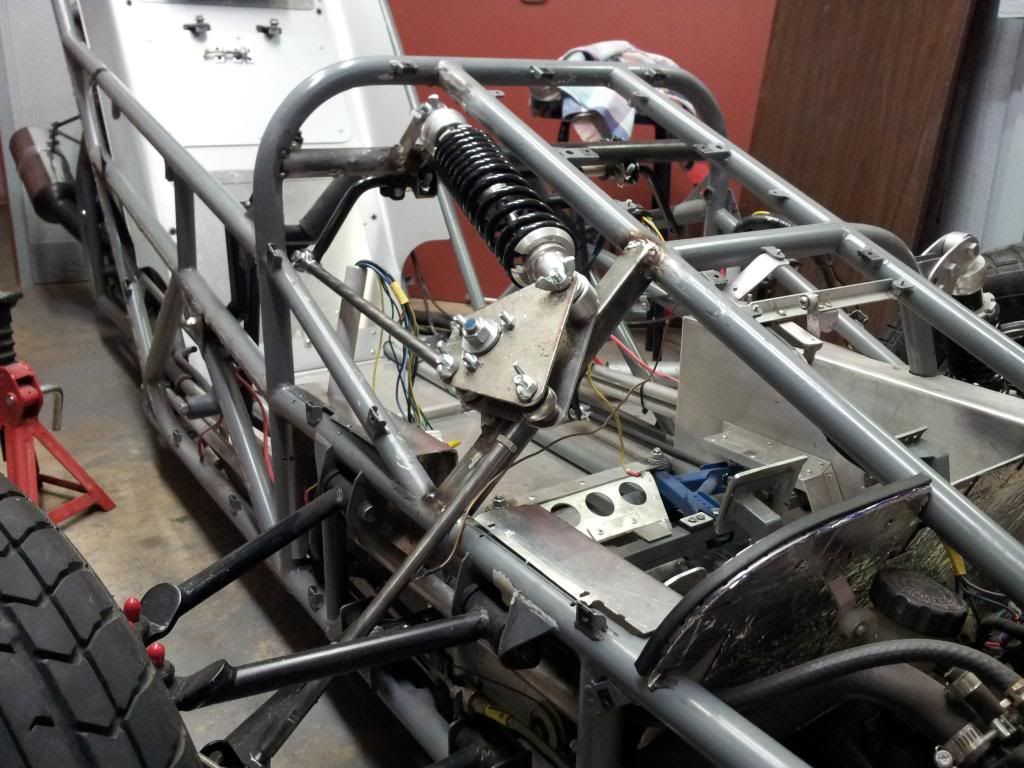 Hope the other side doesn't take another 3 weeks. 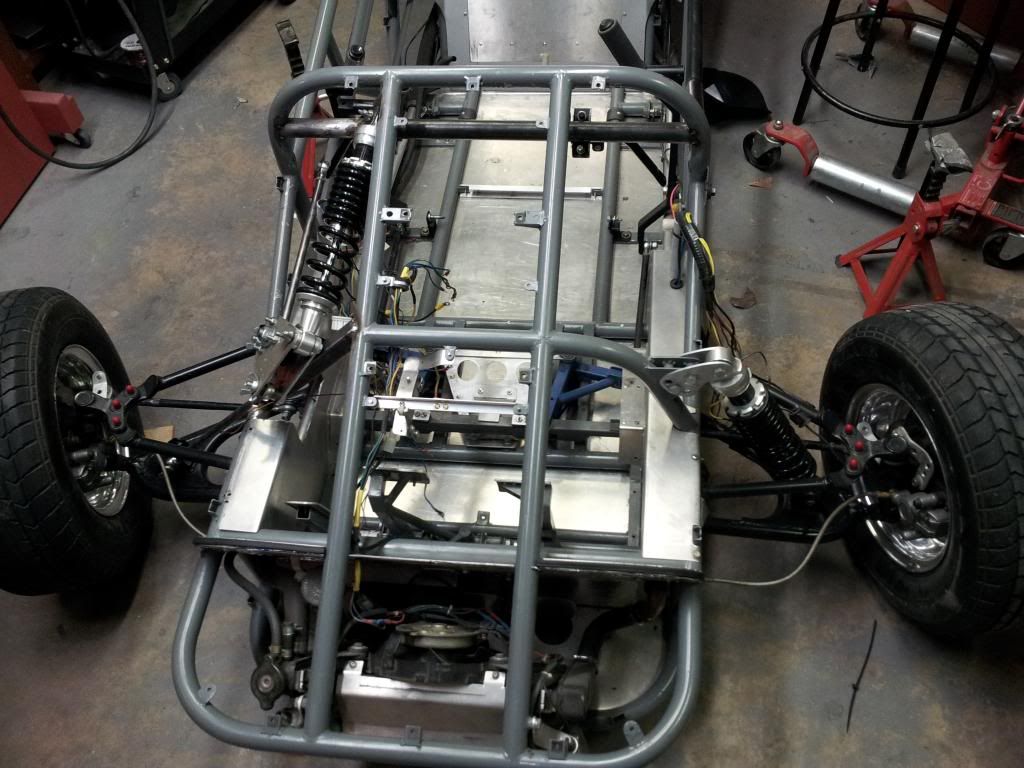 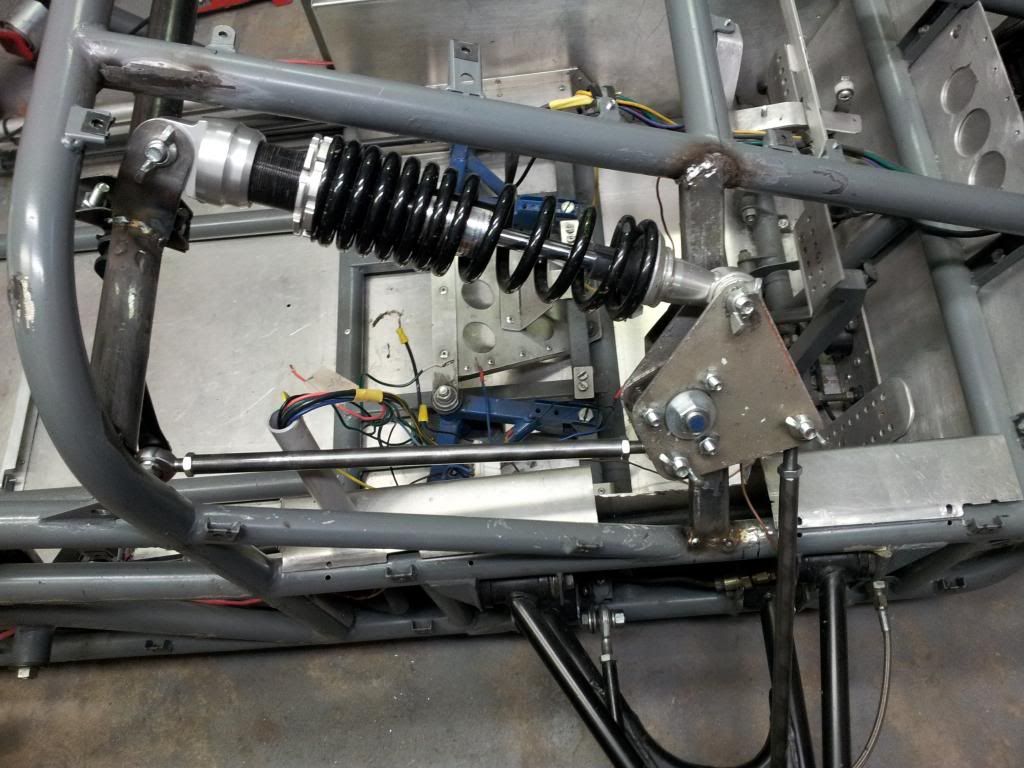 So, the whole reason for relocating your shocks, is for looks ? |
|
|
|
Post by Liteway on Apr 15, 2014 8:15:34 GMT -5
No. That was a secondary purpose, along with reducing drag. Those reasons alone were not enough to justify the effort, increased complexity and weight.
Main purpose is to allow use of an anti-roll bar. With the frame configuration and driver position I have, there was no way to mount an anti-roll bar without fabricating the bar itself to a custom fit. Even if I could, it would further clutter the air stream and detract from appearance.
Doing it this way allowed me to use off-the-shelf hardware from the CanAm Spider. All will be enclosed with bodywork. Look closely and you will see the link at the bottom of the bell crank leading aft to the anti-roll bar where it is attached to a cross member.
(Edit 10:00 am 4/15). You caught me in a contradiction. I stated at the start of the thread that I was satisfied with the way the trike worked , but not with the way it looked.
Actually, it suffered a bit from excessive body roll in hard cornering, despite some pretty stiff springing. This mod should allow me to crank back on the preloads to provide a better ride as well.
Yet another advantage of bell cranks is the effective spring rates can be altered by varying the distance between the main pivot bearing and links to the shock or a-arms. Roll stiffness can be varied in the same way without changing out the bar. I made the side plates separable from the bearing shells so that geometry could be altered by replacing those instead of replacing a whole welded up unit. A 3 cornered flange is welded to the bearing shell to provides a place to bolt on the side plates. Instead of this, some drill extra holes in the plate to be able to make adjustments, but the necessary distance between them means changes may be coarser than wanted and the plates themselves made bigger than necessary to provide a range of adjusment.
Because they are bolted, not welded to the bearing shell, side plates are made of aluminum, making them lighter, easier to drill and cut.
|
|
|
|
Post by Liteway on Apr 18, 2014 13:04:07 GMT -5
Site is dead again. I'll do what I can. Still doodling new sheet metal while I work on the internals. Trying to clean it up a bit. 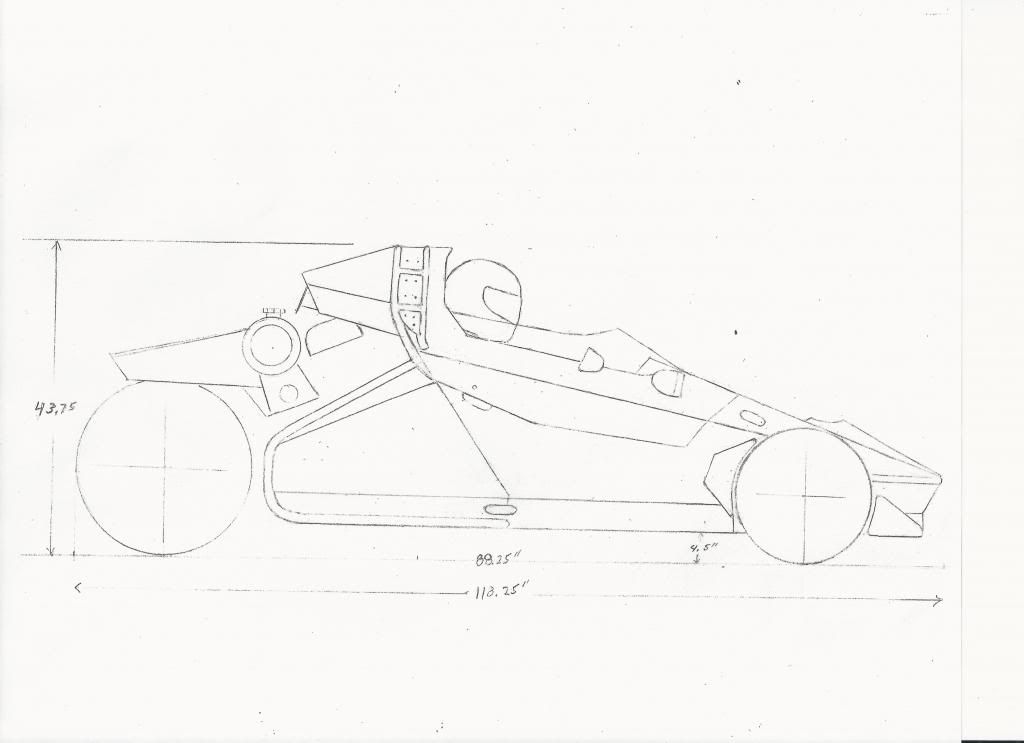 race And 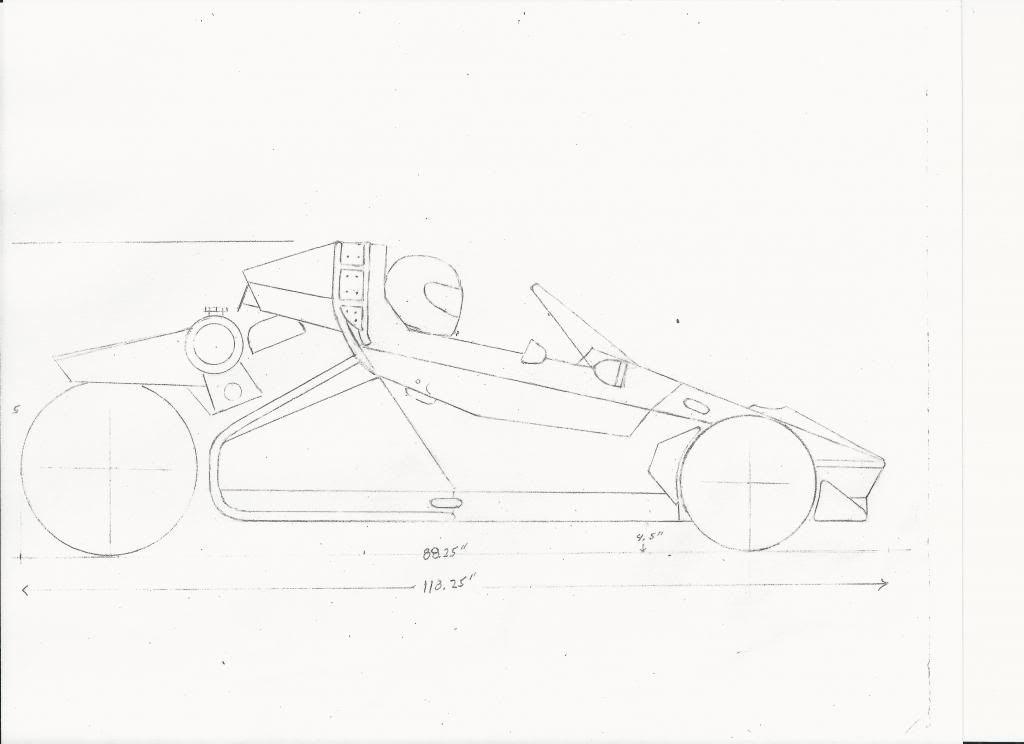 full touring 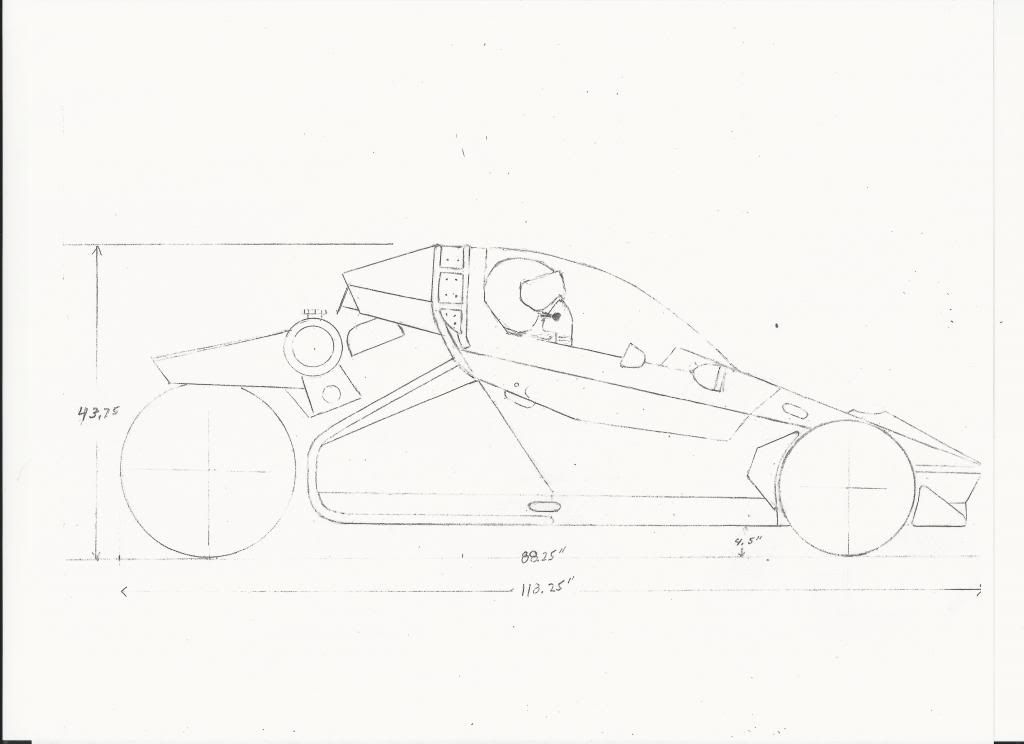 Bubble  sun protection  Weight addition will not be as bad as I feared, with 4 lbs being added for the remote spring/shock assembly and an equal amount for the anti roll bar assembly. That takes away about 1/3 of the weight saved with the new seat. Saved about 2 lbs on the head fairing mostly because I did not add back in the heat insulation and wings. Hoping the entire project will be weight neutral or maybe even add a little lightness. |
|
|
|
Post by Liteway on Apr 23, 2014 20:34:36 GMT -5
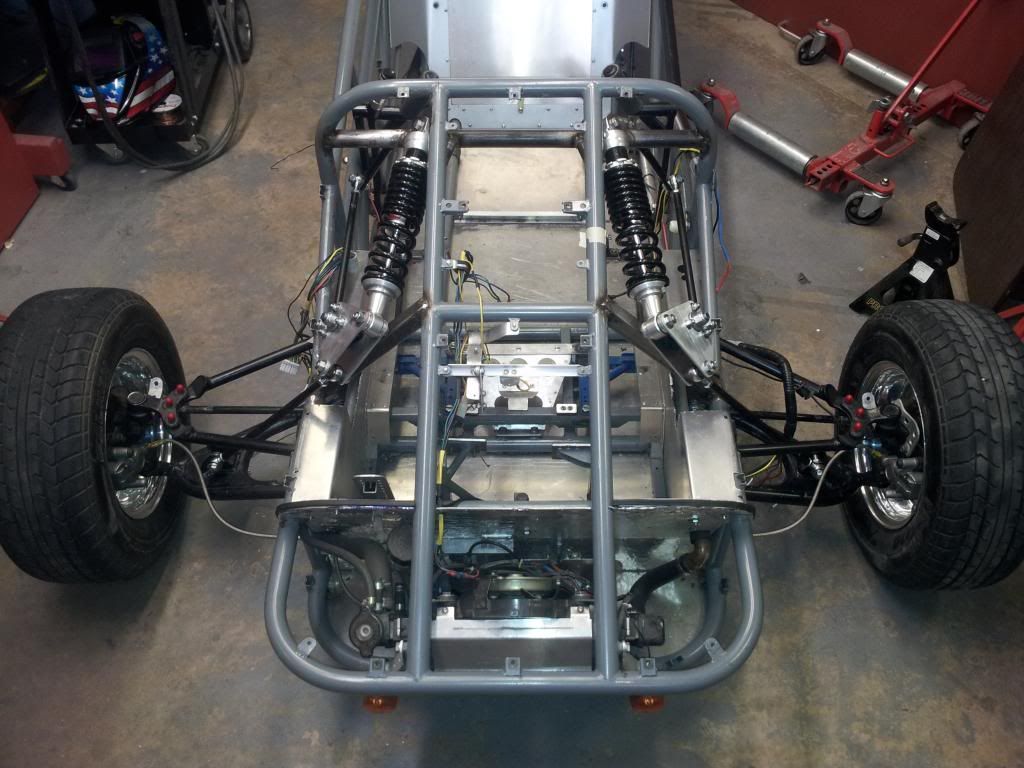 I was lucky that a frame not designed for inboard springs only needed a couple of tubes moved around to accommodate them. Seems functional enough bouncing it around in the shop, but won't know what I really have until I begin the new instrument panel and get some of the electrics hooked up for a road test. Next. |
|
|
|
Post by captainamerica on Apr 24, 2014 7:01:59 GMT -5
I wish I had your ability to draw by hand. The pilot is a nice touch  Looks like that front push rod suspension turned out nicely. I realize your shorter then me, but it still gets me when I see how short your wheel base is. I am pushing almost 95" and I could use an extra 2 inches to give my knees some more room. Also I know they are two force members but watch out for buckling on the push rods of that size, whats that OD? looks like 1/2". I also really like your sway bar setup, makes me think I could run that in mine but I think my knees would be unhappy. |
|
|
|
Post by Liteway on Apr 24, 2014 9:48:33 GMT -5
Thinks for the compliments Andrew.
Wish I had your computer skills.
A shorter swing-arm accounts for much of the wheelbase difference. My homemade one is 4" shorter than the stock one was, and I would guess it in turn was a bit shorter than your factory one, as it came off an earlier design and motorcyle sportbike swing arms keep getting longer as time goes on. ( Begin Edit 4/25) Mine measures 16.5" from swingarm pivot center to rear axle center if you care to compare.(End Edit)
This probably accounts for much of the difference in the weight distribution of the two trikes as well.
Yes, the push rods are 1/2 inchers but I feel confident they will be ok. Indeed, they look a bit spindly compared to yours but my front end weight is 33% lighter, and the push rods look to be only about 2/3 as long. The shorter,the stiffer. Also they are made from chromoly which provides additional stiffness. Nonetheless, I'll take your concern seriously and be watching for signs of weakness.
|
|
|
|
Post by Liteway on May 12, 2014 16:20:07 GMT -5
Drug hi-tech forming tools out of attic. 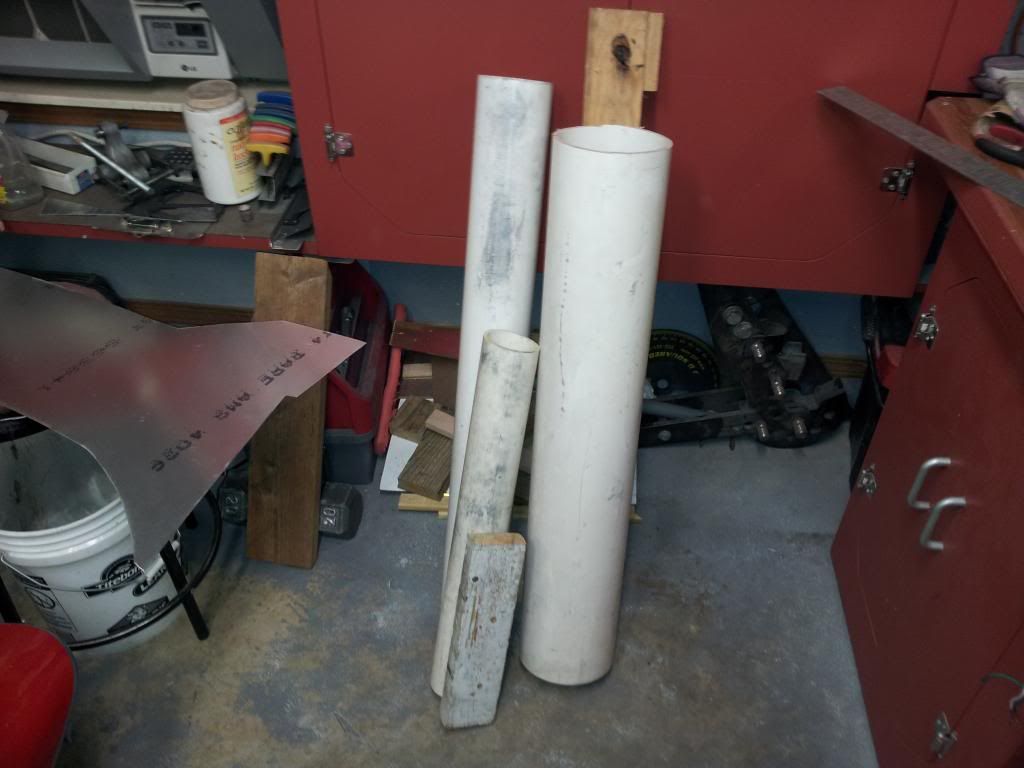 New dash is to be installed on an aluminum subframe, apart from main structure. Should collapse if banged with helmeted head. 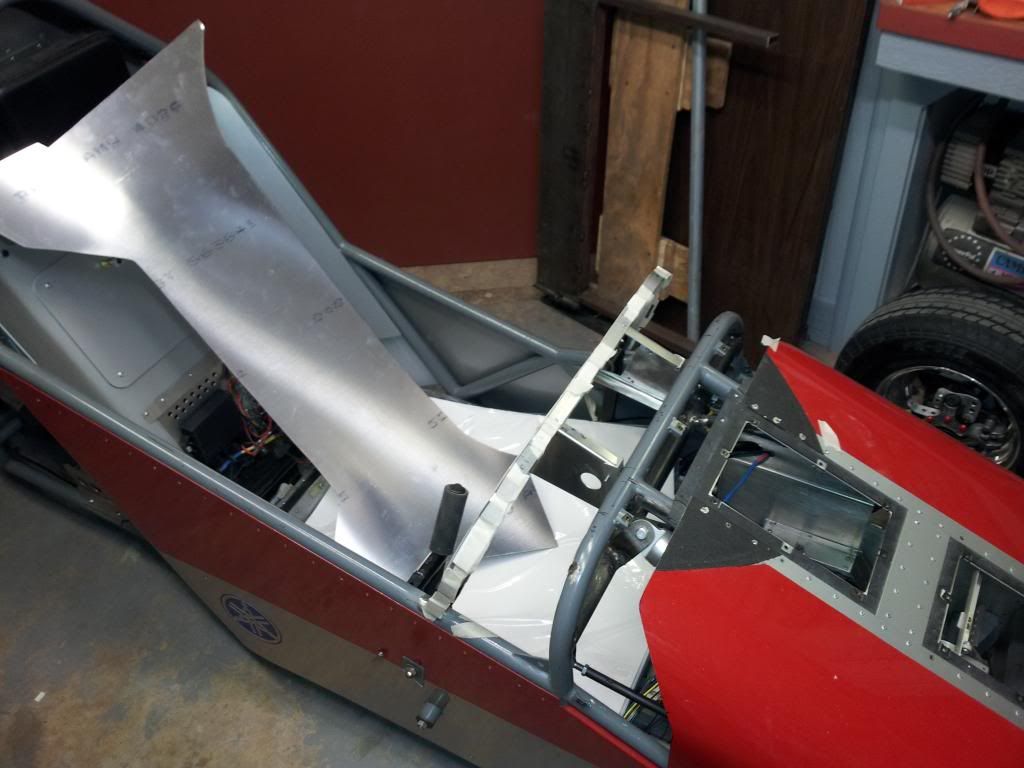 Made a pattern. 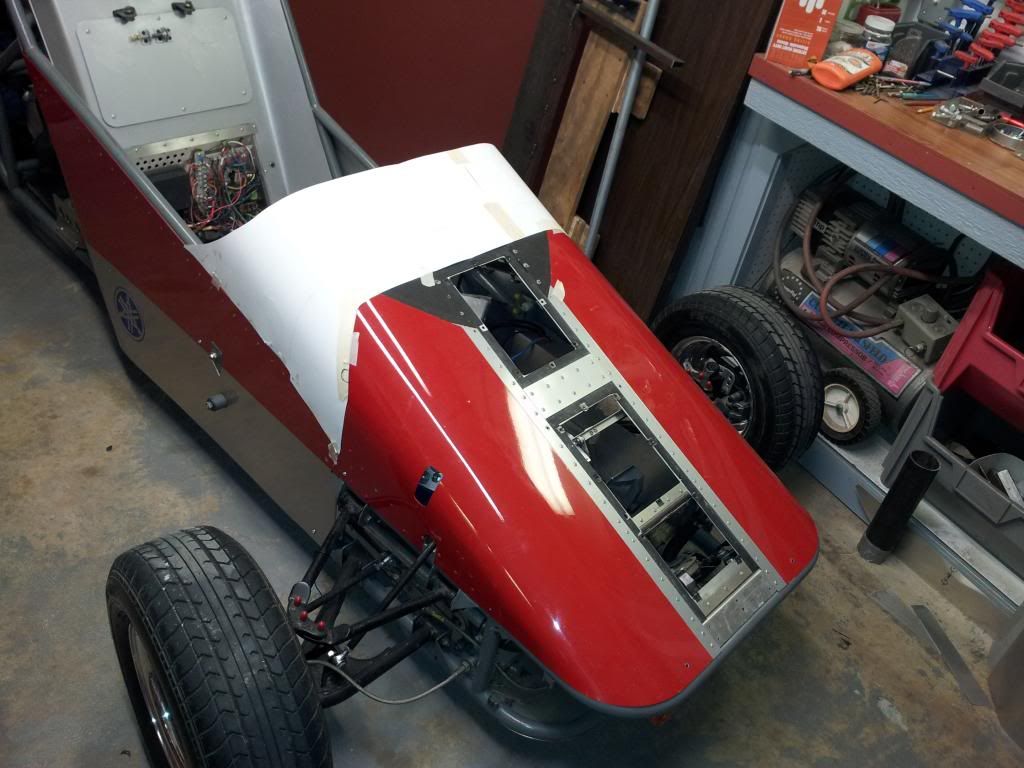 Aluminum piece cut to match. Always prefer .040 for body panels, thin enough to bend cold, thick enough to not to dent when spat upon. 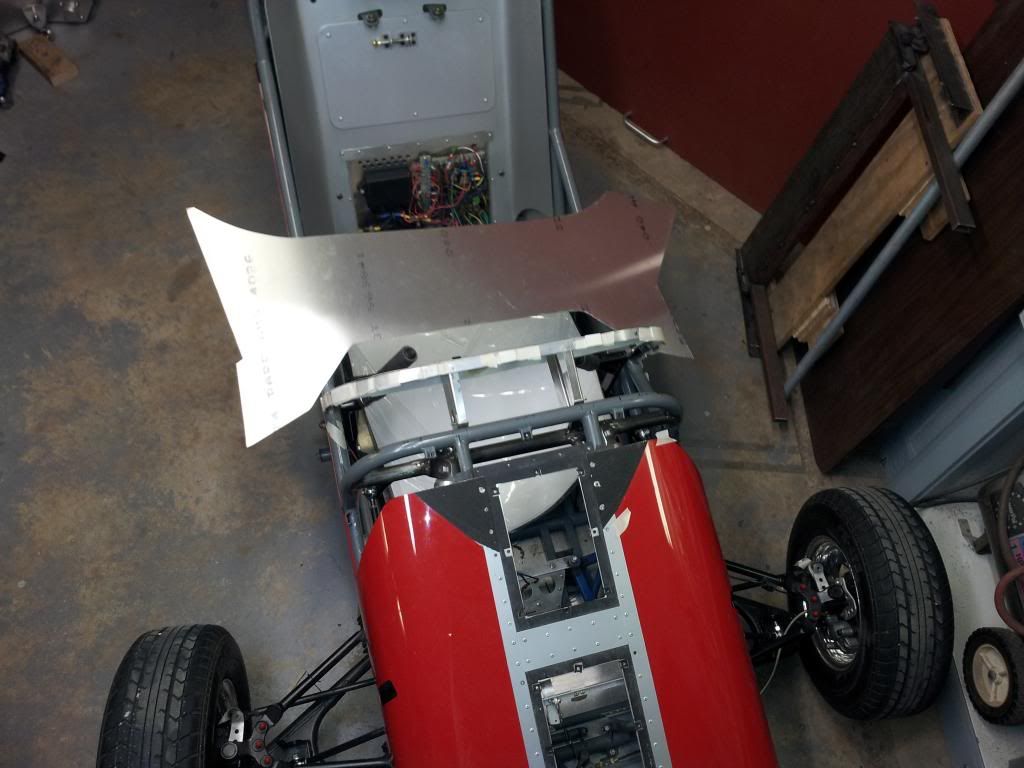 [/URL [/URL
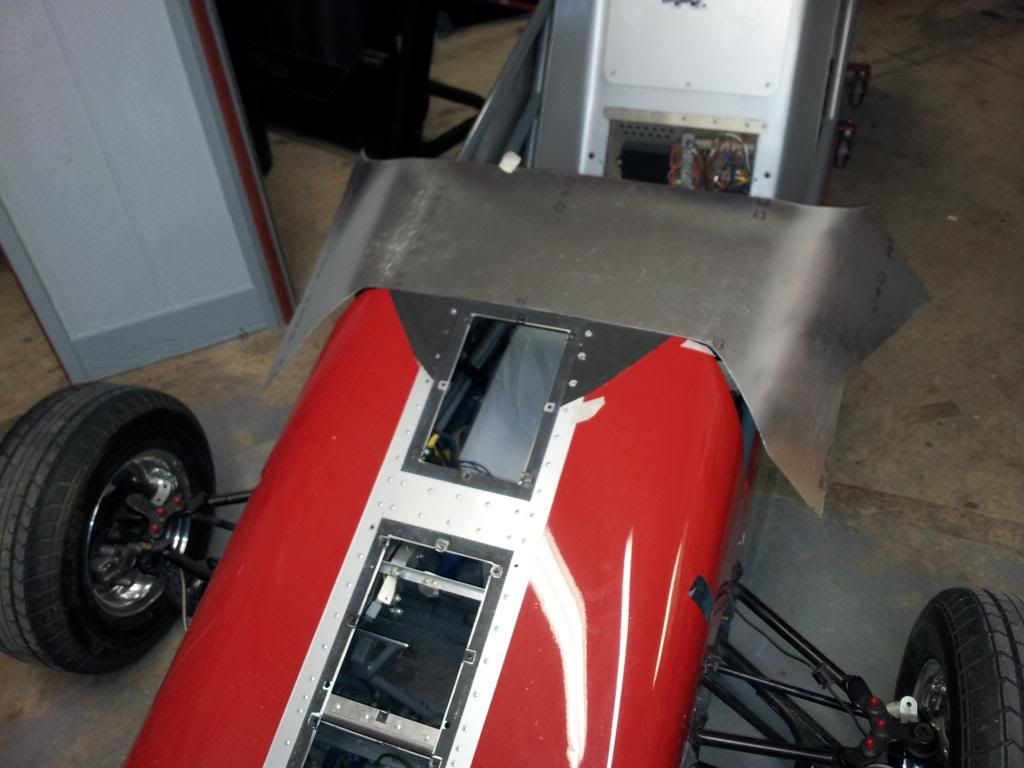 Cut lines are adjusted with sanding and filing as bend progresses. 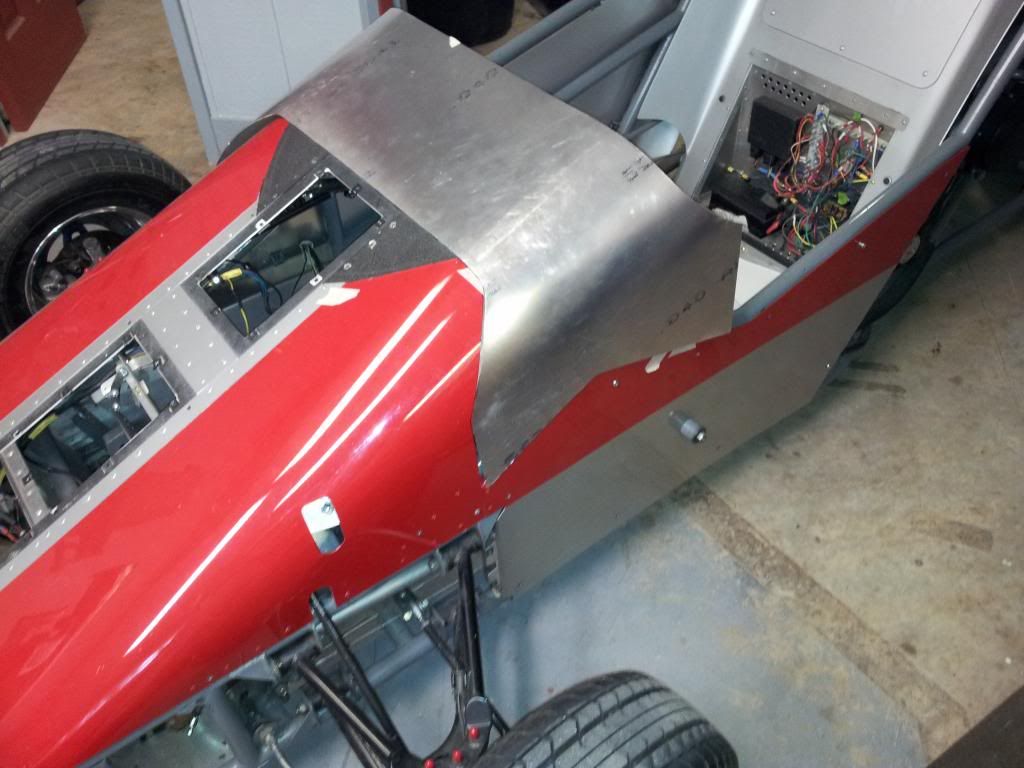 |
|
|
|
Post by Liteway on May 19, 2014 13:24:00 GMT -5
|
|
|
|
Post by Liteway on May 24, 2014 17:11:42 GMT -5
|
|